
Quick Start
This video takes you from a SketchUp model to your first render in under two minutes:
To follow along, download the scene of the video, rayscaper-quick-start.skp (7.6 MB). It’s a small garden studio, and it works with the free version of Rayscaper.
This is the render you end up with:
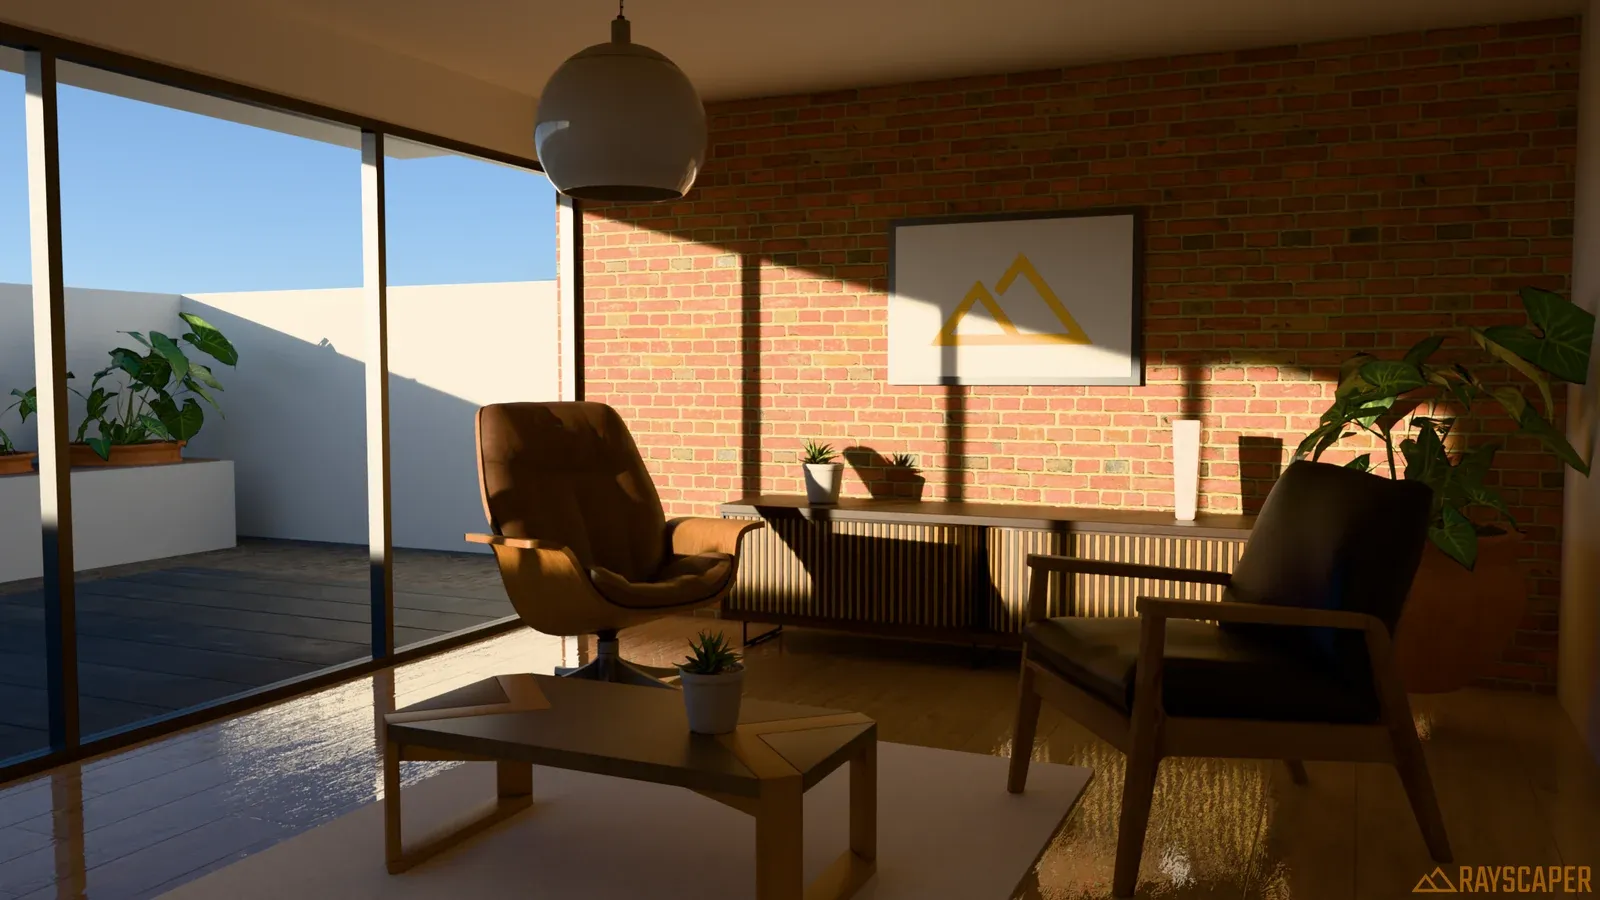
Furniture, plants and textures: Poly Haven (CC0).
The steps in short:
- Open the scene in SketchUp and click Start Render on the Rayscaper toolbar. The Rayscaper window opens and starts rendering right away. The scene comes with its lighting set up: a sky that follows SketchUp’s sun, see Syncing with SketchUp Sun.
- Keep working in SketchUp: orbit, switch between the Living Room and Garden scene tabs or move a chair, and the render follows. Click Lock Camera on the Rayscaper toolbar to keep the shot while you look around in SketchUp. See Camera.
- Change the lighting: open the HDRI tab of the Asset Manager at the bottom of the window and drag an HDRI onto the render. See Environments.
- Change a material: open the Material tab of the Asset Manager and drag a material onto a surface, for example a brick onto the green wall. To fine-tune one, turn on Material Pick on the toolbar (Ctrl+M) and click a surface in the render. Its material opens in the Materials section of the Scene Editor, where you can change its type and settings, such as the Roughness of the floor. See Materials.
- Save the render with File > Save… (Ctrl+S). See Saving a render.