
Cameras
The camera decides what your render shows: the view, the lens, the image size and effects such as depth of field. In Rayscaper it follows the SketchUp camera, and you fine-tune it in the Camera section of the Scene Editor.
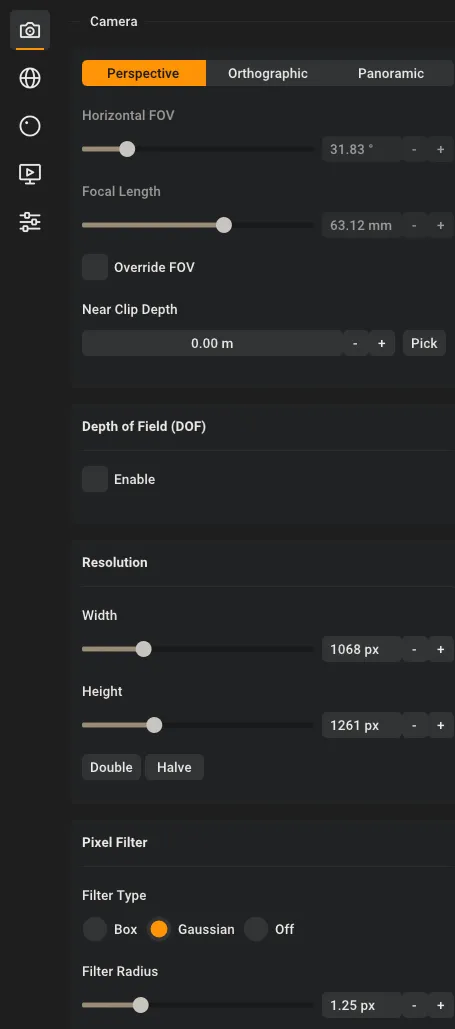
The Camera section holds:
- Projection Types: perspective, orthographic or panoramic, with the field of view
- Depth of Field
- Resolution
- Near Clip Depth
- Pixel Filter
Videos
Section titled “Videos”Frame your shot shows the live link with SketchUp, the frame in the viewport, scene tabs, the image size and Lock Camera. To follow along, download its scene, rayscaper-camera.skp (7.2 MB): a small cabin in a clearing with three scene tabs to frame.
Lens, focus and projection goes through the settings of the Camera section: the focal length, depth of field with Camera Focus Pick, panoramas, Near Clip Depth and parallel projection. Its scene, rayscaper-camera-settings.skp (7.5 MB), is a living room with a window onto a walled garden.
Both scenes work with the free version of Rayscaper.
Camera Synchronization
Section titled “Camera Synchronization”Rayscaper renders what your SketchUp camera sees. When you orbit, pan or zoom in SketchUp, or click a scene tab, the render follows right away.
While Rayscaper renders, an orange frame in the SketchUp viewport shows exactly which part of the view ends up in the render. Guide lines in the frame help you compose your shot, see Composition Guide.
Locking the Camera
Section titled “Locking the Camera”To keep the render on its current view while you look around in SketchUp, click Lock Camera on the Rayscaper toolbar ( ) or choose
 Extensions > Rayscaper > Lock Camera. Click it again to follow SketchUp again. The button is only available while Rayscaper is rendering.
Matching the Viewport
Section titled “Matching the Viewport”Match SketchUp Viewport on the Rayscaper toolbar ( ) or in
 Extensions > Rayscaper > Match SketchUp Viewport copies the SketchUp camera to Rayscaper: the view, the projection type (perspective or parallel projection) and the field of view or orthographic height. It also sets the render resolution to the size of the SketchUp viewport, and turns off Override FOV and Override Height, so Rayscaper follows SketchUp again.
Projection Types
Section titled “Projection Types”Rayscaper has three projection types: Perspective, Orthographic and Panoramic. Switch between them with the buttons at the top of the Camera section.
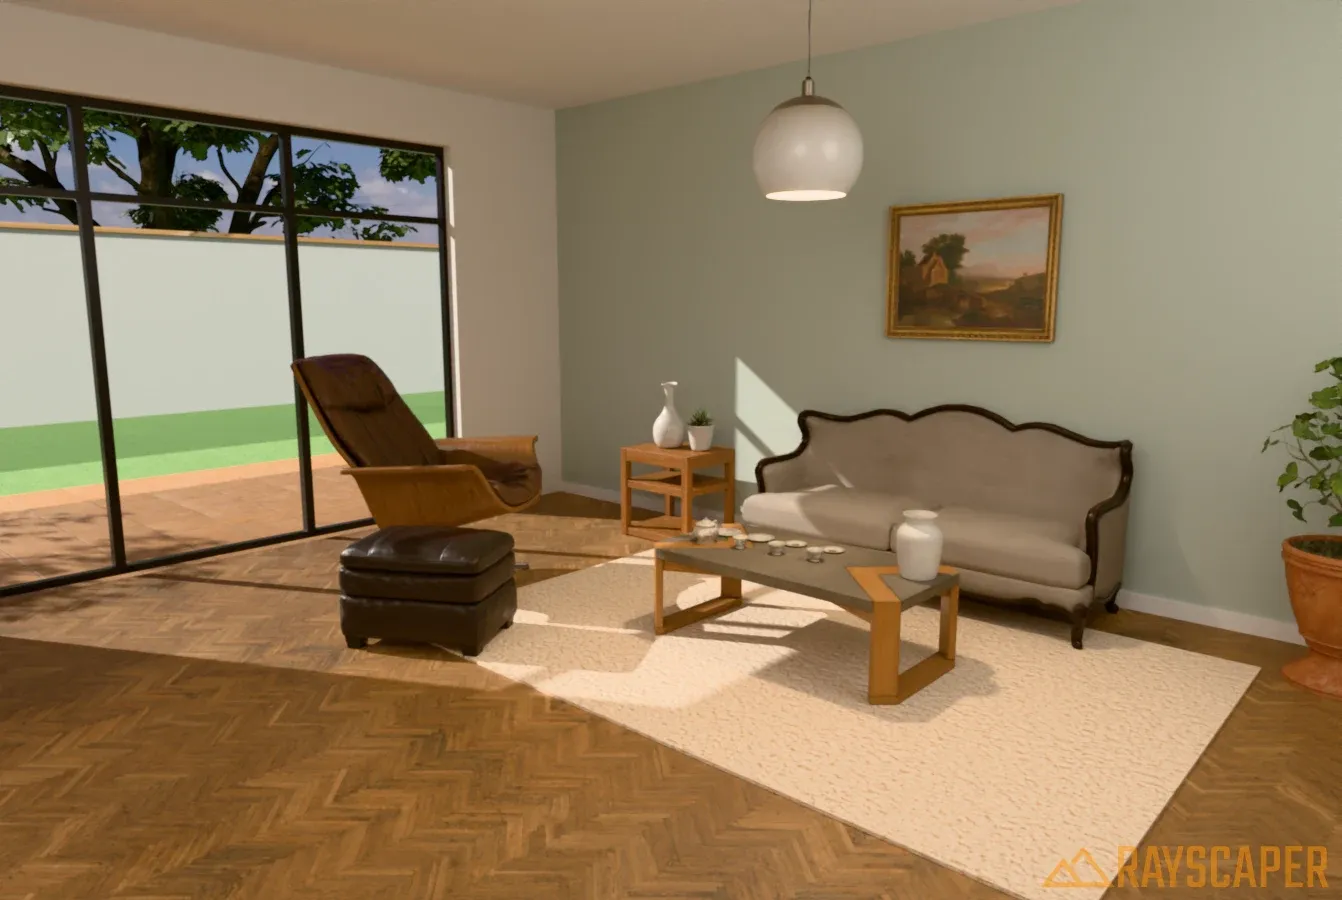
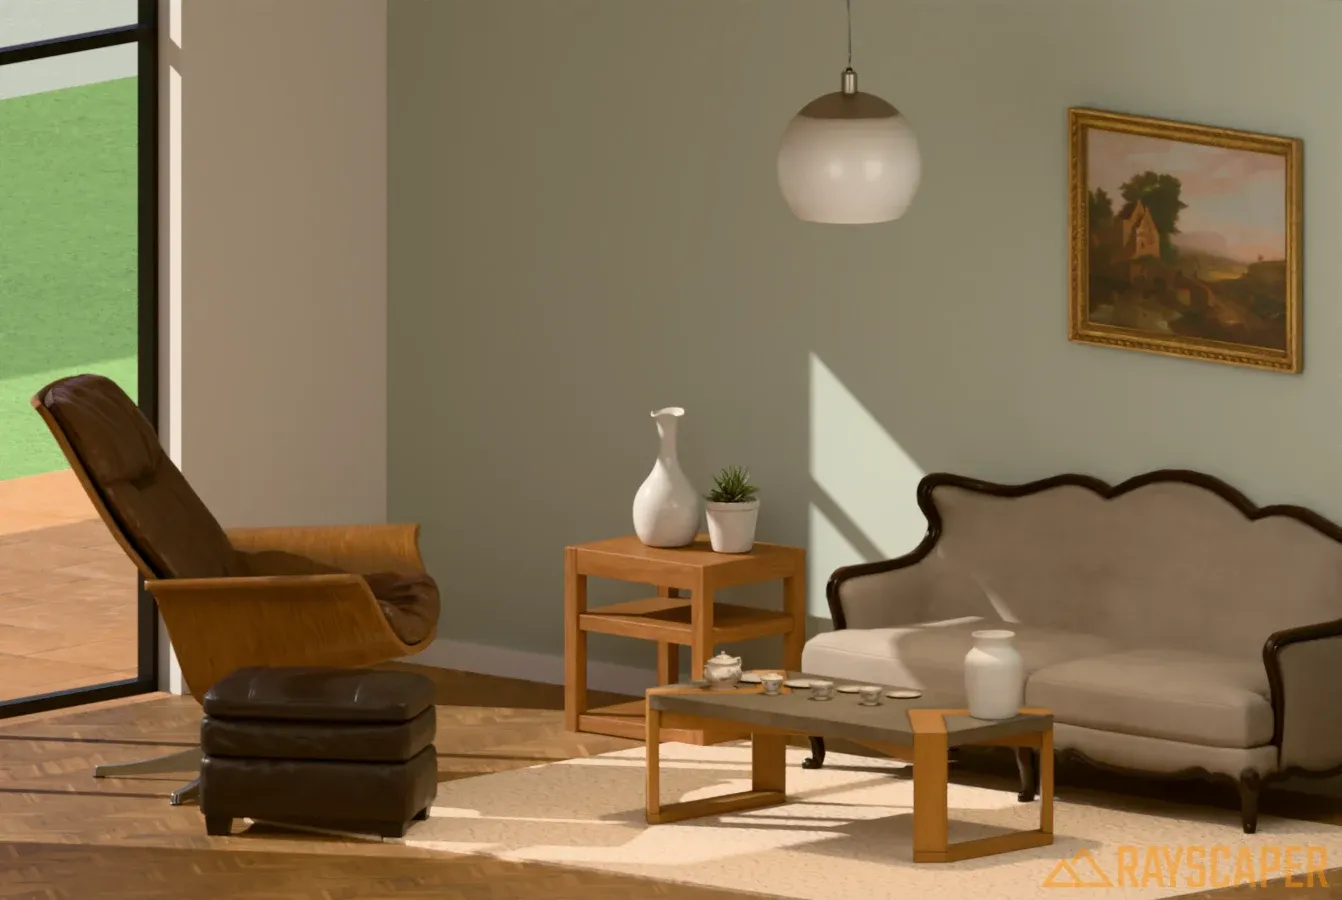
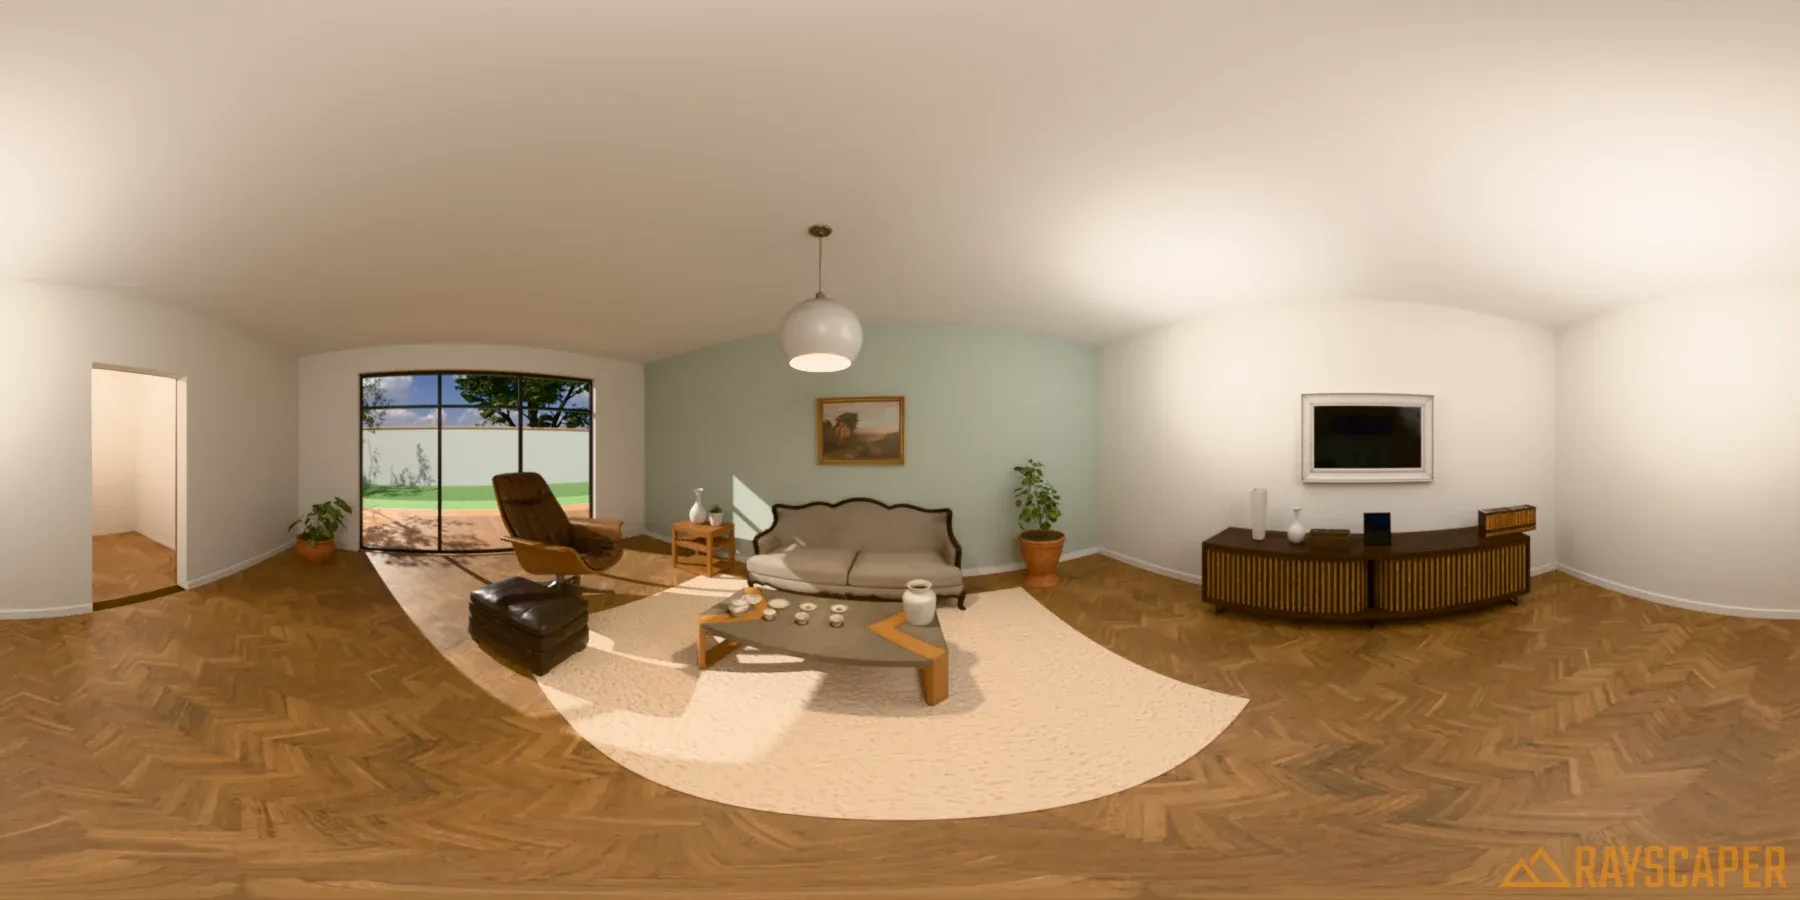
Perspective
Section titled “Perspective”The perspective camera simulates a real-world camera where objects appear smaller as they get further away. This is the most common projection type for architectural visualization and product renders.
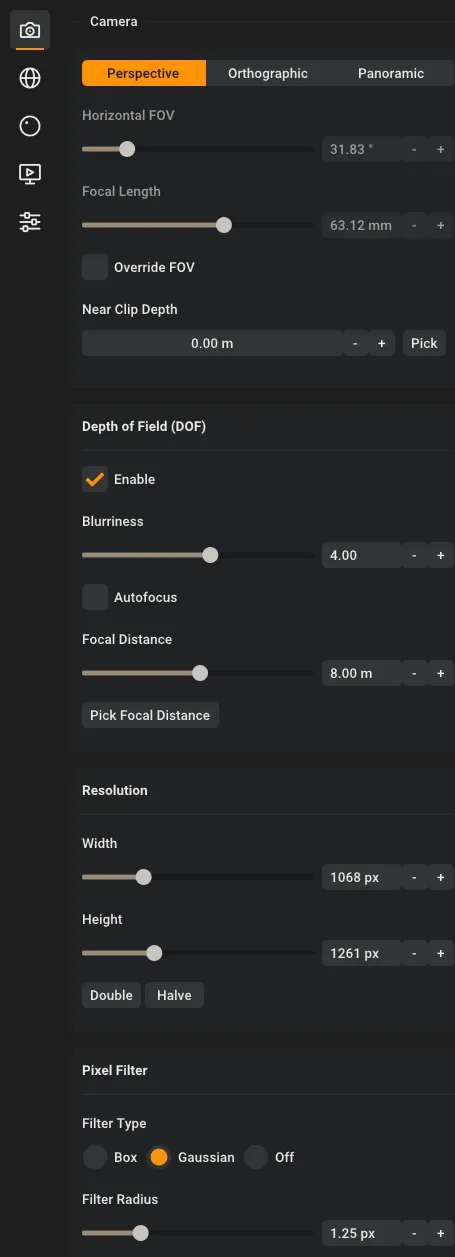
By default, the field of view follows SketchUp’s camera, so Horizontal FOV and Focal Length are greyed out.
Override FOV: Turn this on to set the field of view in Rayscaper instead of synchronizing it from SketchUp’s viewport. This is useful when you want a specific FOV or focal length for your render that differs from the SketchUp view.
Horizontal FOV: The horizontal field of view of the camera, in degrees (1–180°). A small value gives a narrow, zoomed-in view; a large value a very wide view.
Focal Length: The same field of view expressed as the focal length of a 35 mm camera lens (1–1000 mm). Shorter focal lengths (e.g., 24 mm) give a wider view, longer ones (e.g., 200 mm) a narrower, more zoomed-in view. Focal Length and Horizontal FOV are linked: adjusting one updates the other.
Orthographic
Section titled “Orthographic”The orthographic camera renders without perspective: parallel lines stay parallel, whatever their distance. This is useful for architectural elevations, technical drawings or a specific visual style.
Switch SketchUp to Camera > Parallel Projection as well. The orange frame in the SketchUp viewport is only right when both use the same projection, and it shows a warning when they don’t.
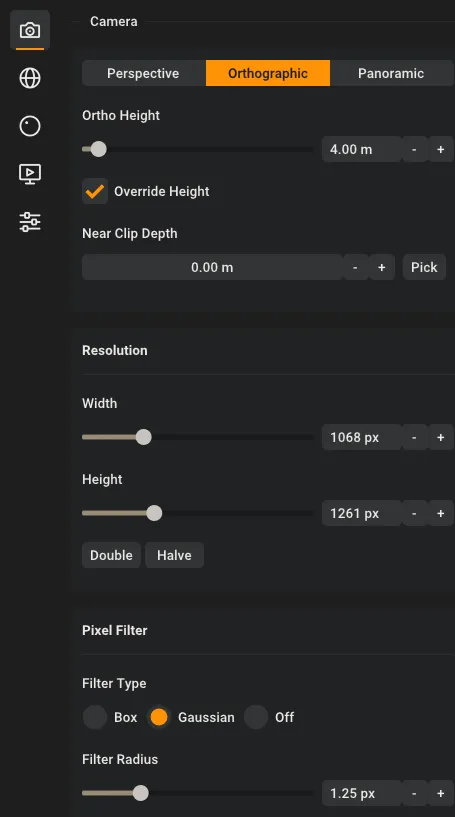
Override Height: Turn this on to set the orthographic height in Rayscaper instead of synchronizing it from SketchUp’s viewport.
Ortho Height: The vertical size of the view in meters (0.001–100 m). A smaller value zooms in, while a larger value shows more of the scene. Only editable when Override Height is on.
Panoramic
Section titled “Panoramic”The panoramic camera renders everything around the camera, 360 degrees, as an equirectangular image. This is useful for VR content, environment maps or interactive walkthroughs.
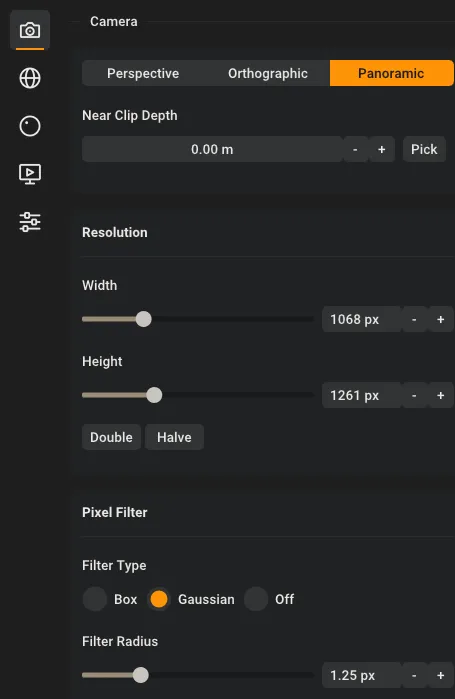
The panoramic projection has no settings of its own, like a field of view or an ortho height. Resolution, Near Clip Depth and Pixel Filter apply as for the other projections.
Depth of Field
Section titled “Depth of Field”Depth of field simulates how a real camera lens focuses on objects at a specific distance while blurring objects closer or further away. It’s only available for the perspective projection, in the Depth of Field (DOF) group of the Camera section.
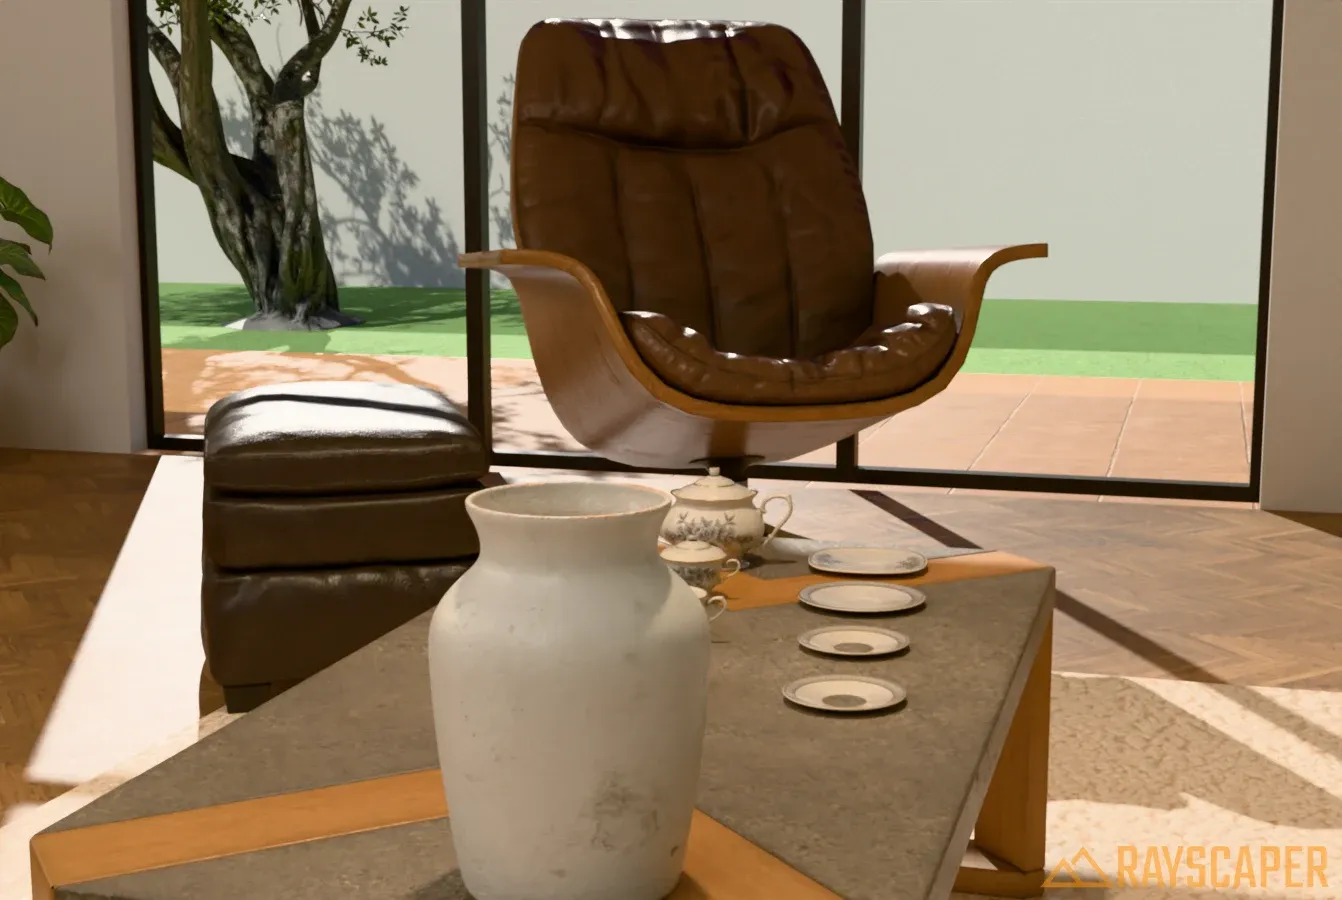
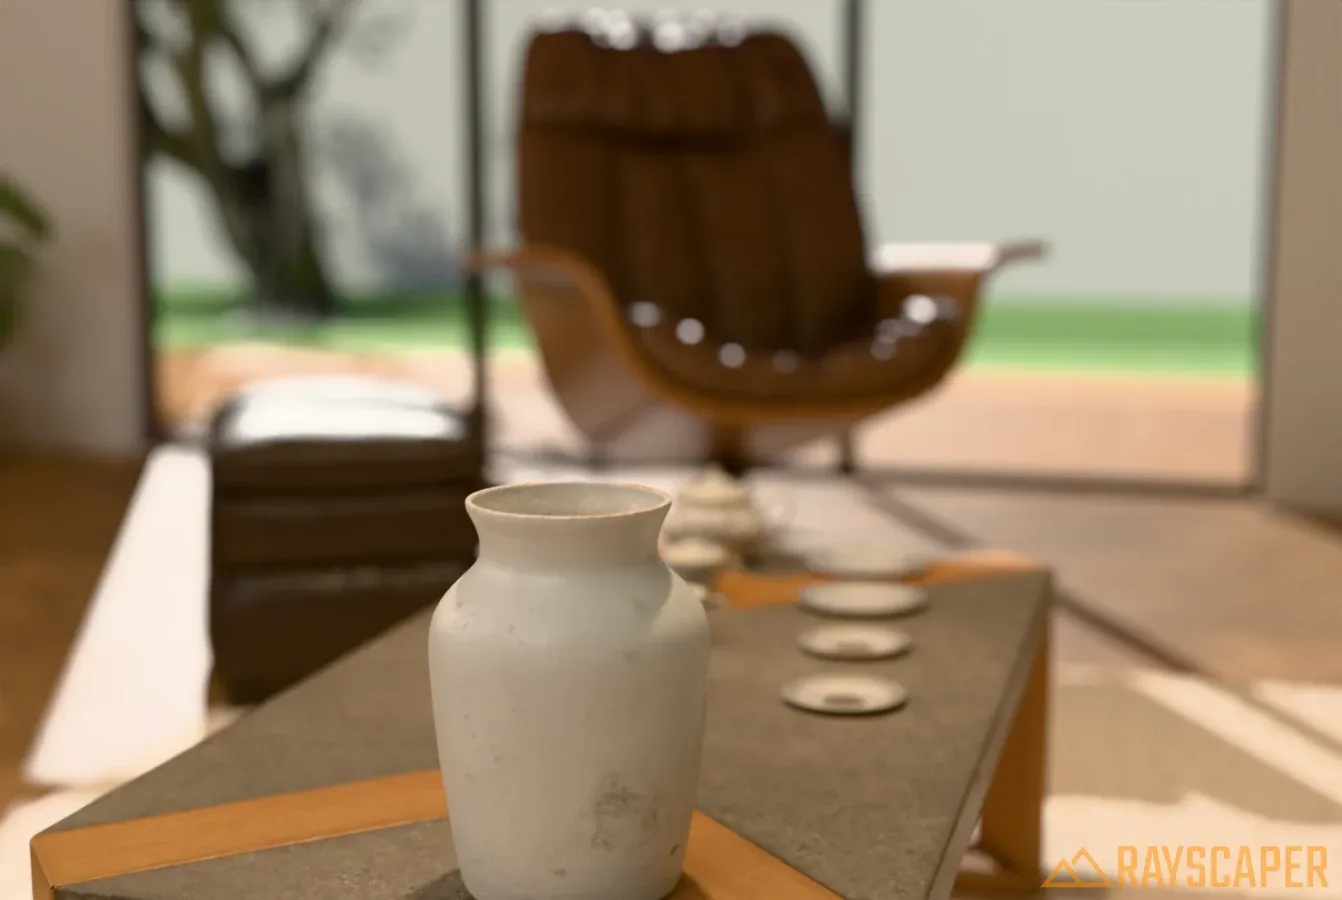
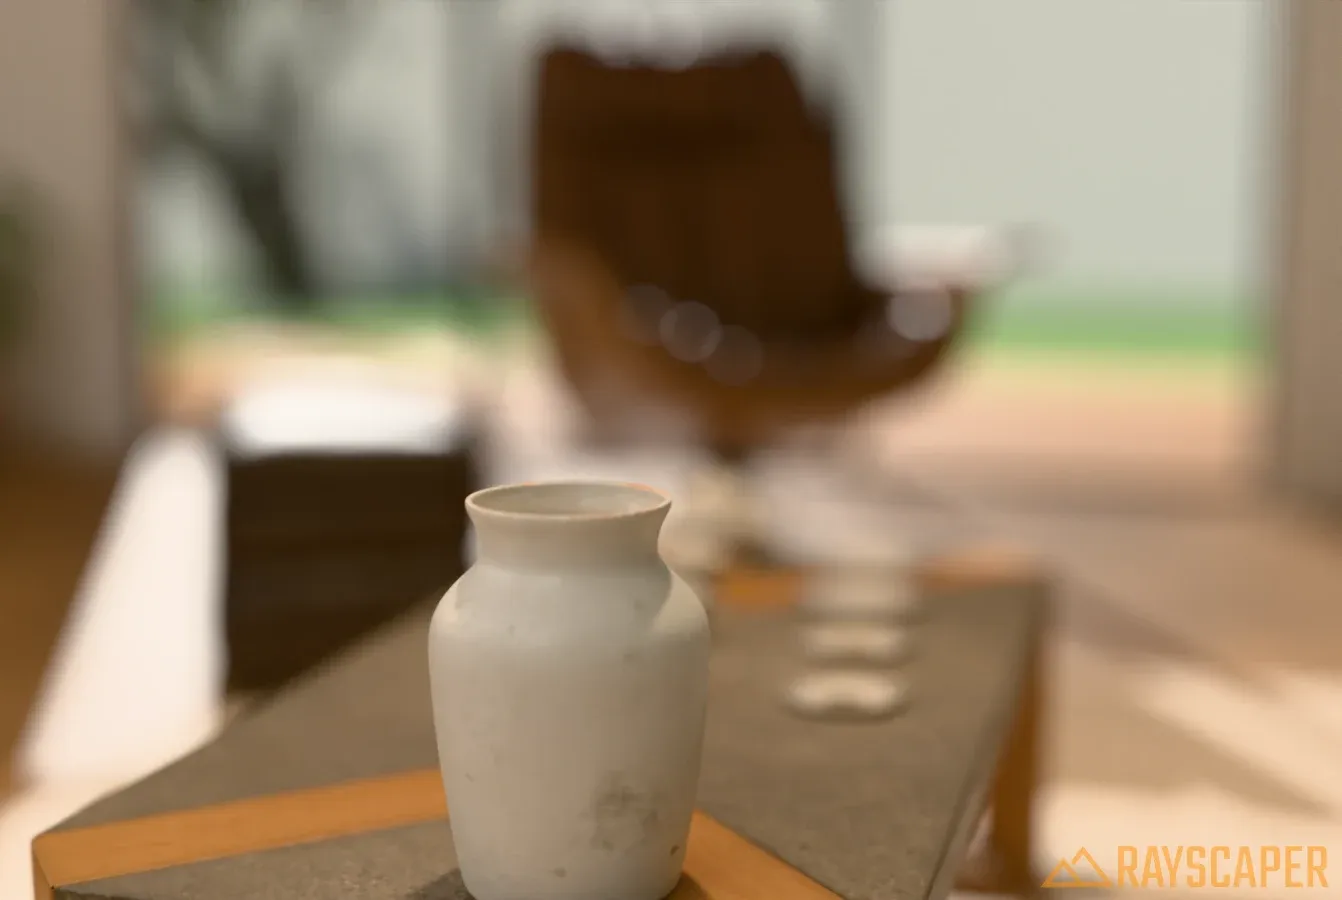
Enable: Turns the depth-of-field effect on or off. When it’s off, everything in the scene is in sharp focus.
Blurriness: Controls the amount of blur applied to out-of-focus areas. Higher values create a more pronounced bokeh effect with stronger blur. The slider ranges from subtle (0.1) to very strong (100) blur.
Autofocus: Off by default. When it’s on, the camera focuses on whatever is at the center of the image, which suits a shot with the subject in the middle. If there’s nothing at the center, for example only sky, autofocus can’t find a distance; turn it off and set the focal distance yourself.
Focal Distance: Only shown when Autofocus is off. The distance from the camera to the focal plane in meters (0.01–10000 m). Objects at this distance will be in sharp focus, while objects closer or further away will be progressively blurred.
The easiest way to set it is to click what should be sharp: click Pick Focal Distance, or turn on Camera Focus Pick on the toolbar of the render window (Ctrl+F), and click a surface in the render. Picking sets the focal distance, so it only has an effect while Autofocus is off.
Resolution
Section titled “Resolution”The resolution settings control the output image size for your renders.
Aspect Ratio: Sets the shape of the image: 16:9 Widescreen, 3:2 Photo, 4:3, 1:1 Square, 4:5 Portrait, 9:16 Portrait or 2:1 Panorama, which suits the panoramic projection. The long edge stays the same. It shows Custom for other shapes.
Size: Sets the long edge of the image: HD (1280 px), Full HD (1920 px), QHD (2560 px) or 4K (3840 px). The aspect ratio and the orientation stay the same, so 16:9 with Full HD gives 1920 × 1080 and 9:16 gives 1080 × 1920.
Width: The horizontal resolution in pixels (100–4000, default 1000).
Height: The vertical resolution in pixels (100–4000, default 400).
Double: Doubles both the width and height of the current resolution. Useful for quickly scaling up for final renders.
Halve: Halves both the width and height of the current resolution. Useful for quick preview renders at lower resolution.
Near Clip Depth
Section titled “Near Clip Depth”Near Clip Depth cuts away everything closer to the camera than a distance in meters, so you can look past walls and other things in the way, for example into a room from outside. The cut is a plane perpendicular to the camera direction. You find it below the projection settings, for every projection type.
Enter a distance, or click Pick next to it (Ctrl+J in the render window) and click a surface in the render to cut at that surface. Then raise the distance a little with + to look through it.
Pixel Filter
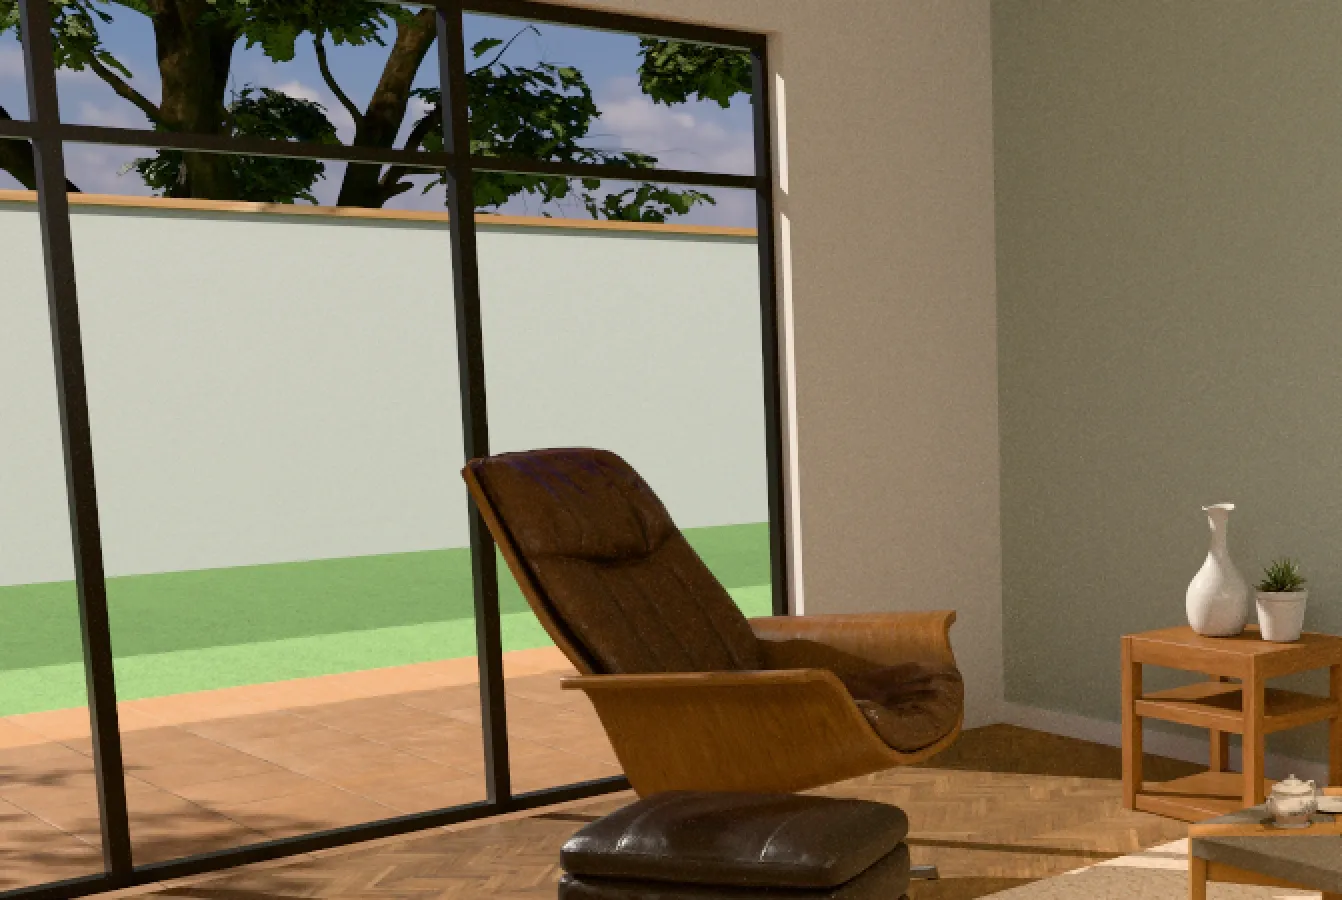
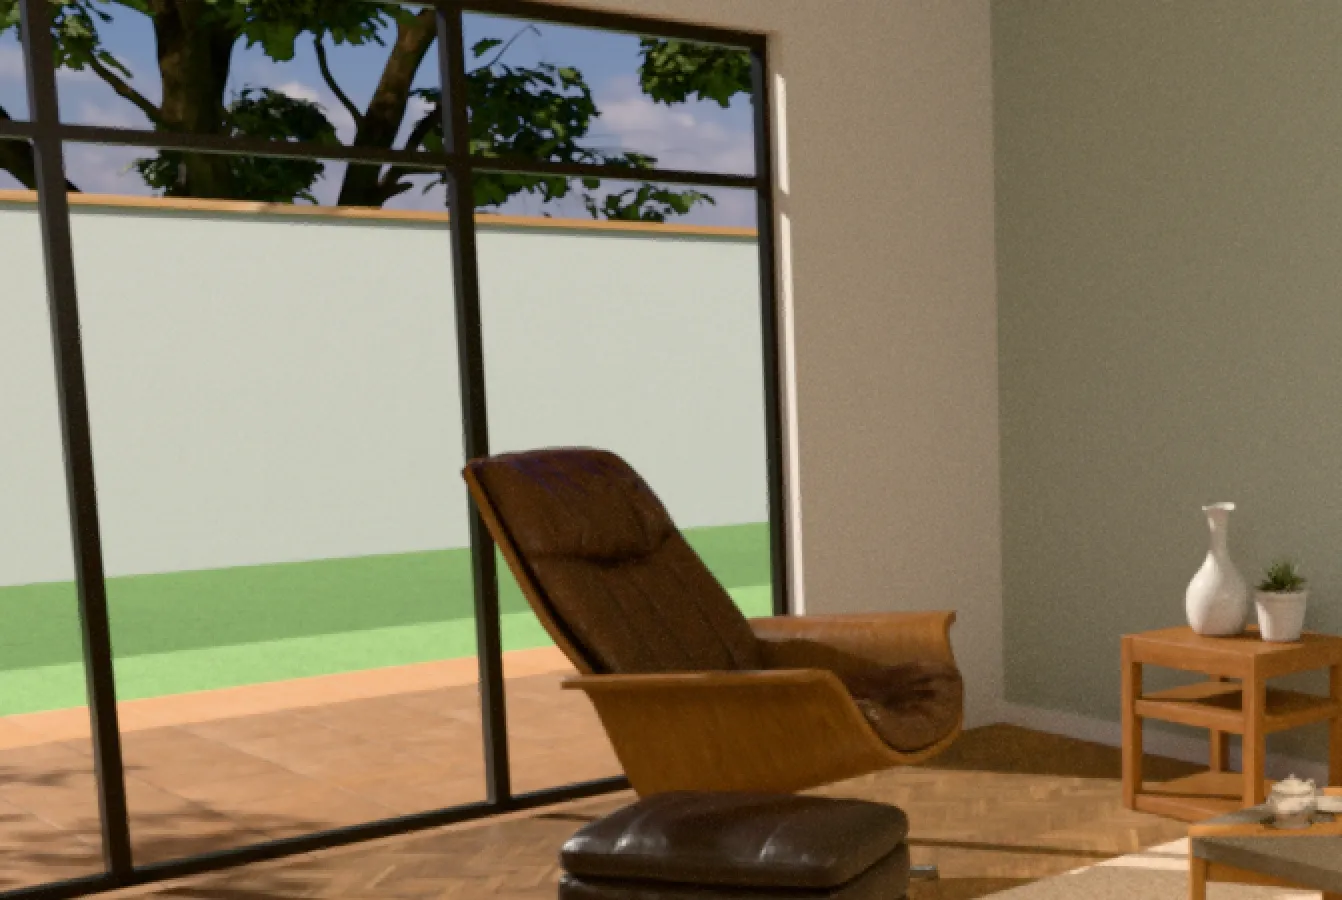
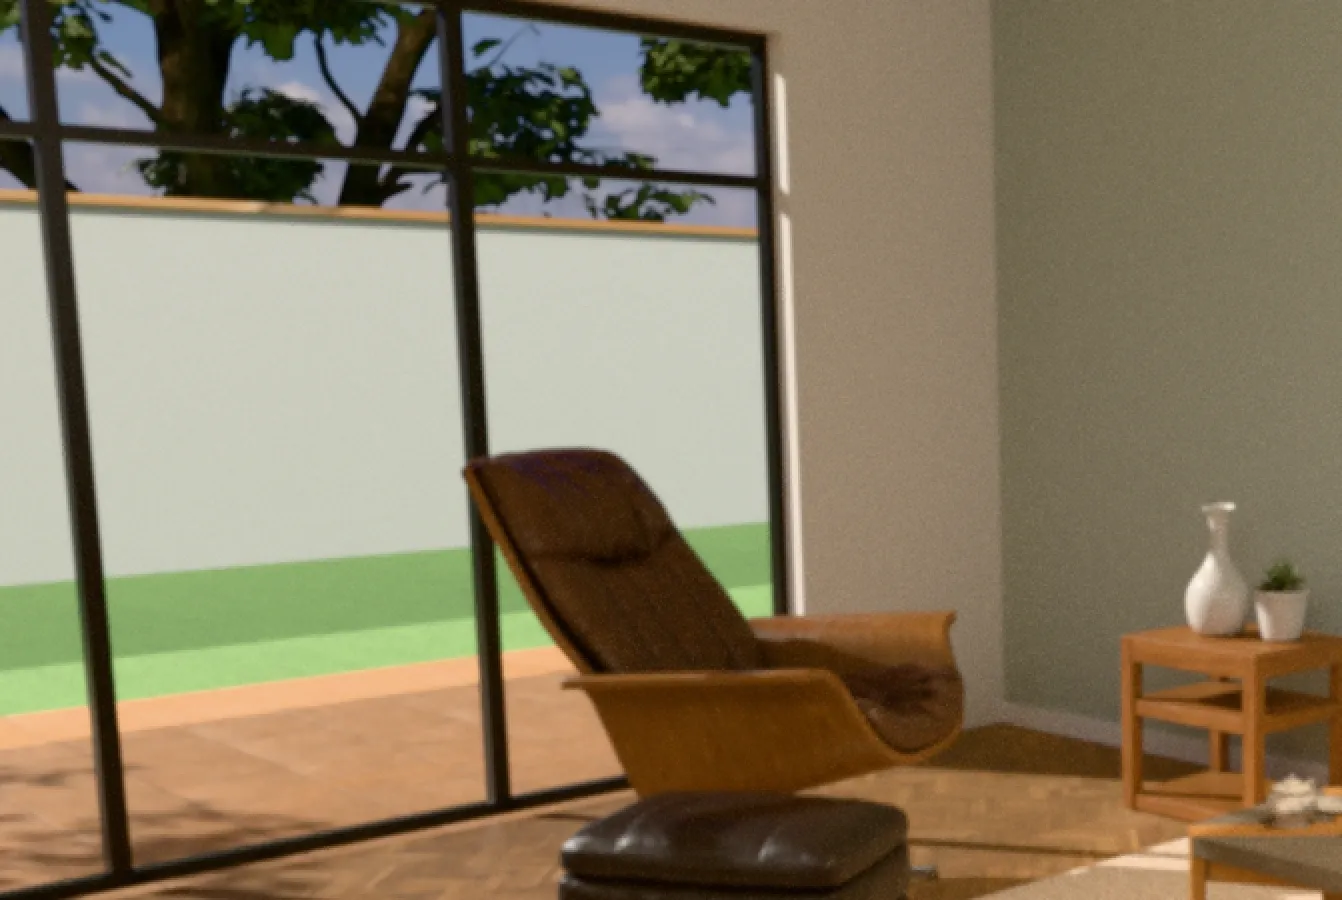
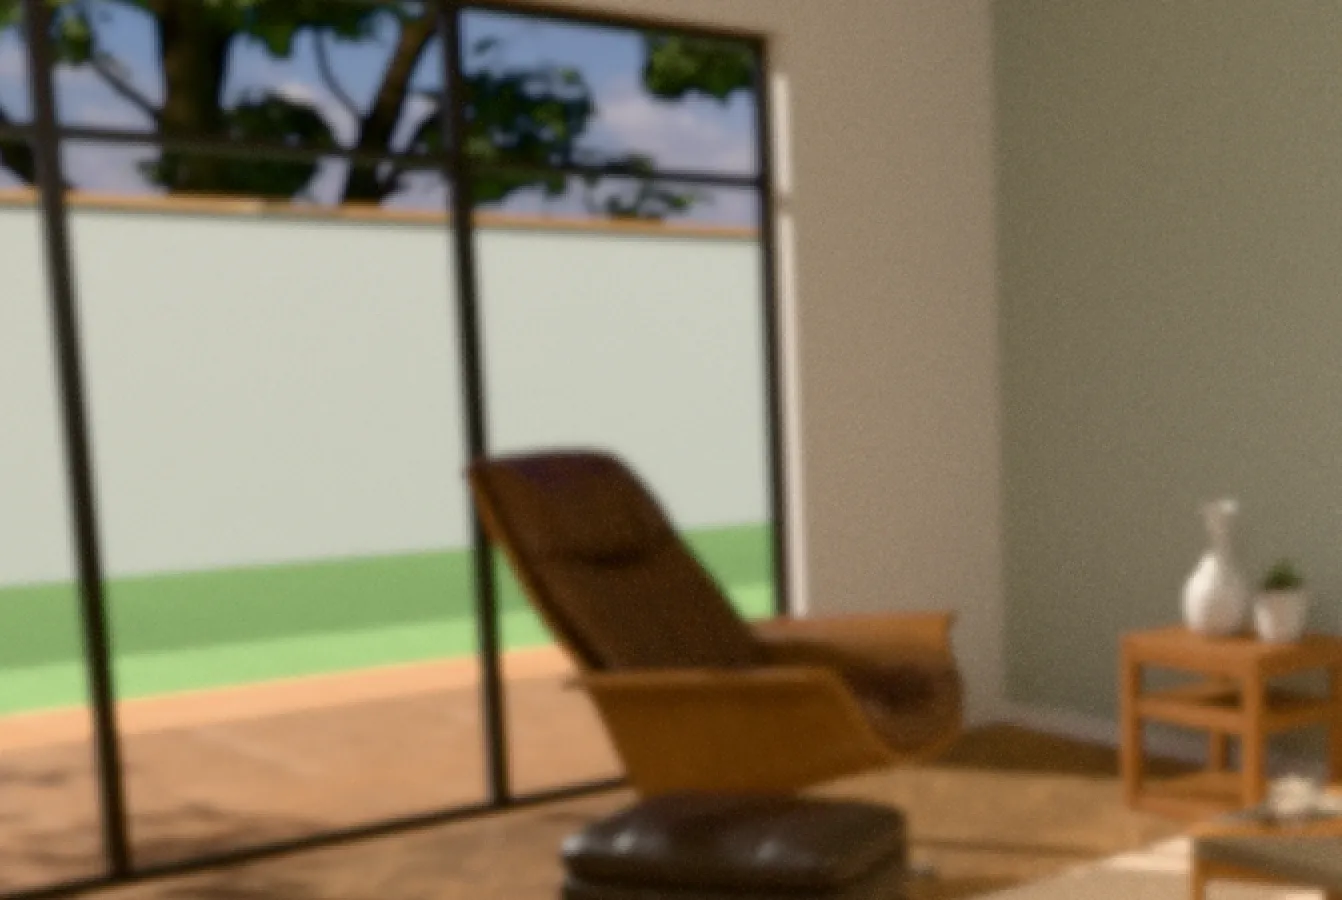
Section titled “Pixel Filter”Pixel filtering controls the sharpness of your image. It can soften rendering noise and jagged edges. Rayscaper offers the following pixel filters in the Filter Type list:
- Box: Averages all pixel samples within the filter bounds with equal weight. A higher filter radius will make the image more blurry.
- Gaussian (default): Averages the pixel samples within the filter radius, giving samples less weight the further they are from the pixel center. This results in a smoother blur than Box.
- Off: Disables pixel filtering.
Filter Radius: The size of the pixel filter in pixels (0.1–5.0, default 1.25). Higher values result in more blurry renders. This setting is only available when a filter type (Box or Gaussian) is selected.
The examples below are zoomed in 2× so the individual pixels are visible.
Credits
Section titled “Credits”The example renders on this page and the scenes of both videos are built from CC0 models, textures and HDRIs from Poly Haven.