
Materials
Materials decide how every surface in your render looks: its color, how shiny it is, whether light passes through it, and whether it glows. Every SketchUp material in your model has a Rayscaper material with the same name, and Rayscaper materials add the settings you need for realistic results.
To try these controls on a ready-made model, download the shader ball demo scene.
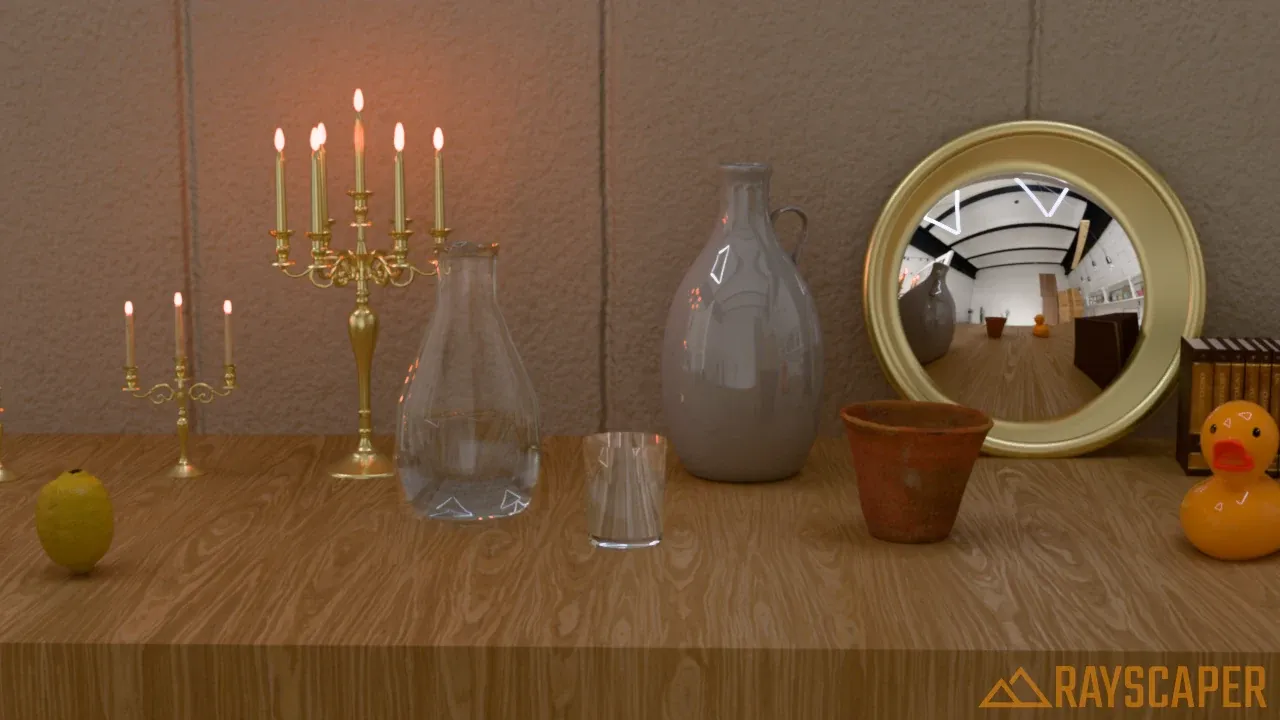
Every object on this table uses a different material type: glass, metal, coated ceramic, diffuse terracotta, a mirror, plastic, and PBR materials for the fruit and the table.
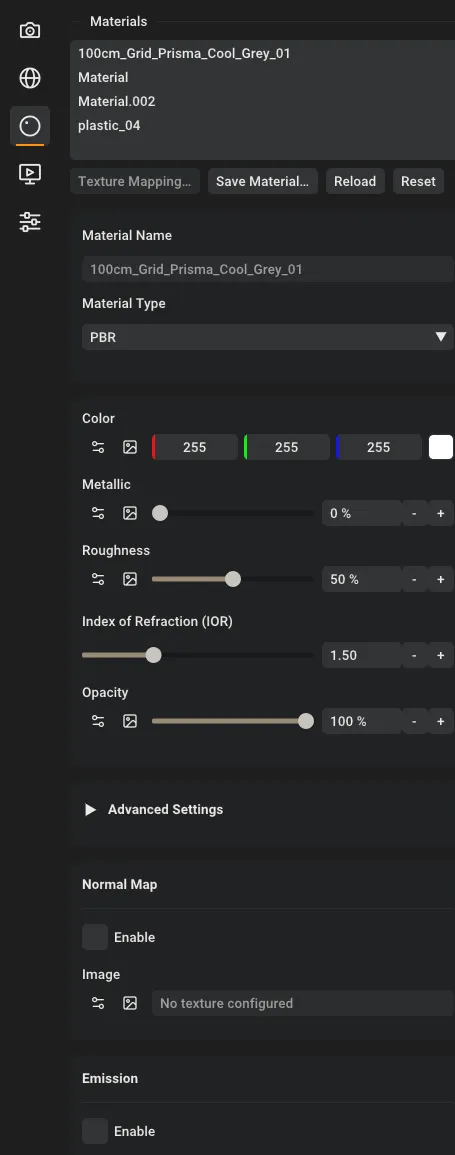
The materials panel: pick a material in the list at the top to edit it below.
Videos
Section titled “Videos”Glass, metal and light shows Material Pick, turns a carafe into glass and a bowl into brass, and lets pendant globes light a dining room with Emission. To follow along, download its scene, rayscaper-materials.skp (6.8 MB): a dining room in the afternoon sun.
SketchUp materials and your library shows why a surface renders in clay, how changes in SketchUp reach Rayscaper with Reload, and how to save a material to your library and use it again. Its scene, rayscaper-material-library.skp (7.0 MB), is a reading corner with a shelf that has no material yet.
More videos about materials are on Textures and Material Types. All scenes work with the free version of Rayscaper.
The Material Editor
Section titled “The Material Editor”The list at the top of the Materials section shows every material in the model, in alphabetical order. Select one to edit it. To find the material of a surface instead, turn on Material Pick in the toolbar (Ctrl+M) and click the surface in the render, see Pick modes.
The buttons below the list act on the selected material:
| Button | What it does |
|---|---|
| Texture Mapping… | Moves or re-projects all image textures of the material at once, see Global UV Editing. Only available when the material has image textures. |
| Save Material… | Saves the material to your library, to reuse it in other models. See Saving Materials. |
| Reload | Rebuilds the material from its SketchUp material, see Working with SketchUp Materials. |
| Reset | Restores the default settings of the material’s type. |
Below the buttons:
- Material Name: the name of the SketchUp material. It’s read-only here; rename the material in SketchUp to change it.
- Material Type: see Choosing a Material Type. Changing the type keeps the settings that every type has (Color, Opacity, Normal Map and Emission) and resets the others to the defaults of the new type.
To reload every material from SketchUp at once, use Tools > Reload All Materials from SketchUp, see Reload All Materials from SketchUp.
Choosing a Material Type
Section titled “Choosing a Material Type”Every material has a type. Pick the type that matches the real-world surface, then fine-tune its settings:
| Type | Use it for |
|---|---|
| PBR | Almost anything. The most flexible type and the one to use with scanned or downloaded PBR textures. |
| Diffuse | Completely matte surfaces: unglazed clay, plaster, paper. |
| Coated | A matte surface under a glossy layer: glazed ceramics, varnished wood, lacquer. |
| Plastic | Plastics and glossy paints, with their own highlight color. |
| Glass | Windows, glasses, bottles and water inside a container. |
| Metal | Gold, copper, brass, silver, aluminium and other metals, from polished to brushed. |
| Mirror | Perfect mirrors. |
| Water | Pools, ponds and lakes. |
Working with SketchUp Materials
Section titled “Working with SketchUp Materials”When you create a SketchUp material, Rayscaper creates a matching material with the same color, texture and opacity. This gives you a starting point to work from.
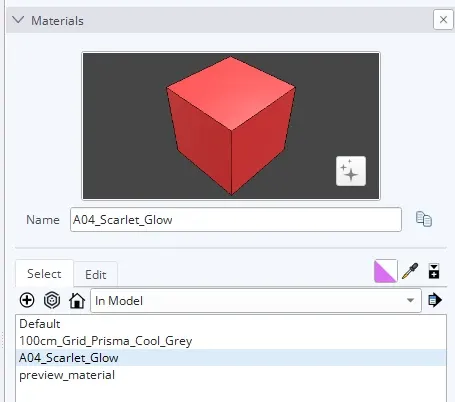
The SketchUp materials panel. Every SketchUp material has a Rayscaper material with the same name.
After this first sync, changes in SketchUp are not applied to the Rayscaper material automatically, so your Rayscaper settings are never overwritten. To update a Rayscaper material with the current SketchUp settings, click Reload. To clear your changes and go back to the defaults, click Reset.
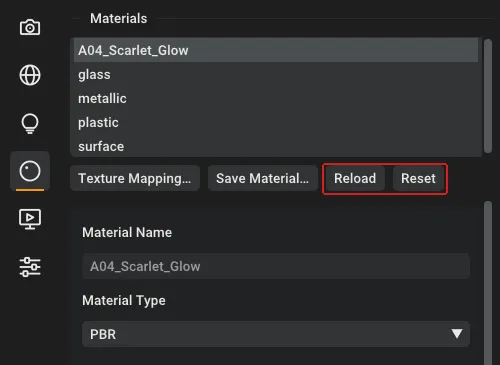
Click Reload to sync a material with SketchUp again, or Reset to restore its default settings.
Renaming a material in SketchUp renames the Rayscaper material too.
Material Requirements
Section titled “Material Requirements”Every face in SketchUp needs a material on its front side. Faces that only have SketchUp’s default material (white or light grey in SketchUp) have no Rayscaper material.
For a face without a material, Rayscaper uses the material of the group or component that contains it. If there’s no material anywhere up the hierarchy, the face renders in a matte, beige clay color.
Common Material Settings
Section titled “Common Material Settings”Every material type has a Normal Map and Emission. Most types also have Color and Opacity: Metal has no Color (its color comes from the Metallic IOR and Absorption Coefficient, which the metal presets set for you), and Water has neither (it uses its own Water Tint and Clarity). These settings work the same for every type.
The examples on the rest of this page use Rayscaper’s shader ball in a photo studio.
The base color of the material. Use a single color, an image texture (a color, albedo or diffuse map) for realistic materials, or a pattern like checkerboard or noise.
Opacity
Section titled “Opacity”How see-through the material is: 0% is invisible, 100% fully solid. Unlike glass, transparent surfaces don’t bend or tint the light behind them.
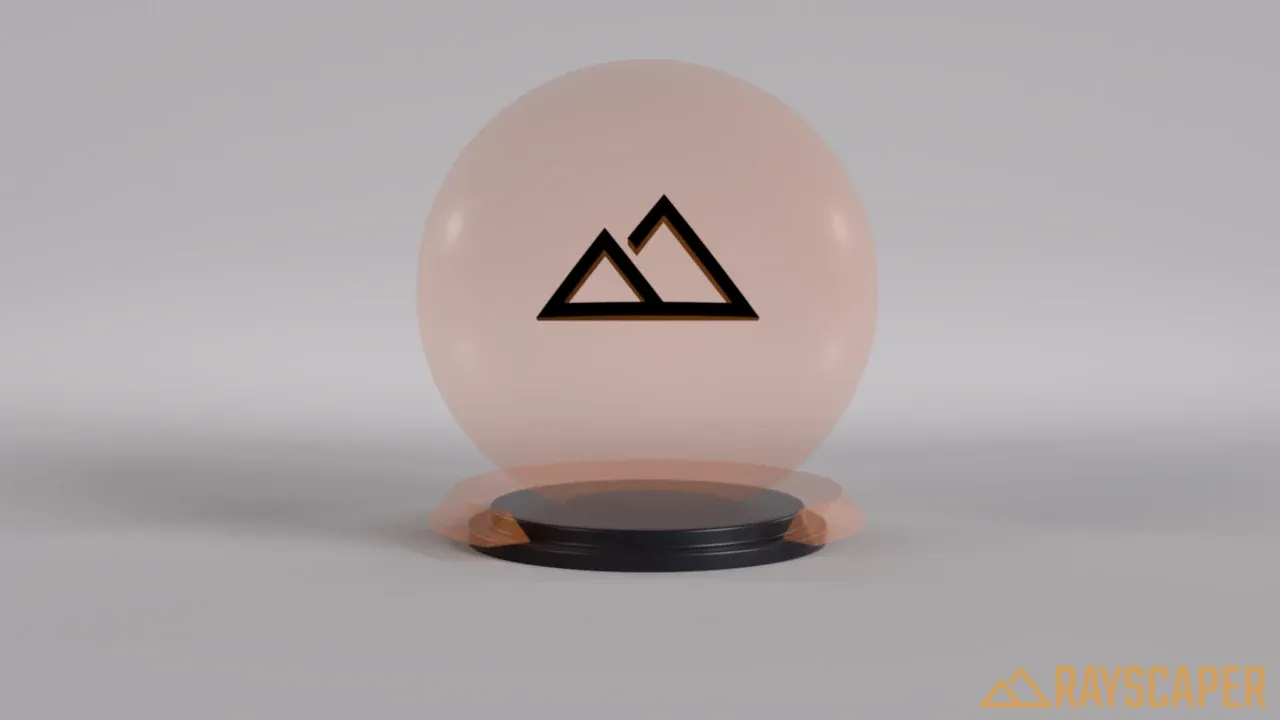
Mostly see-through, like a ghost.
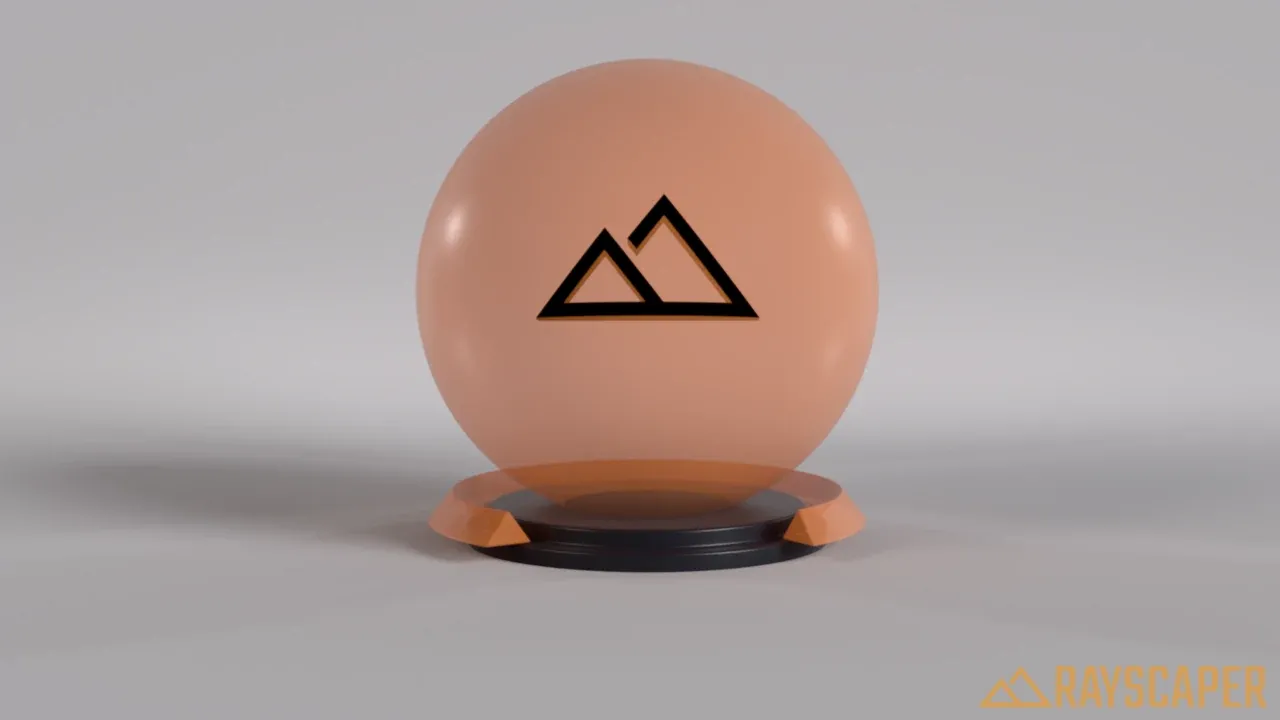
Half see-through.
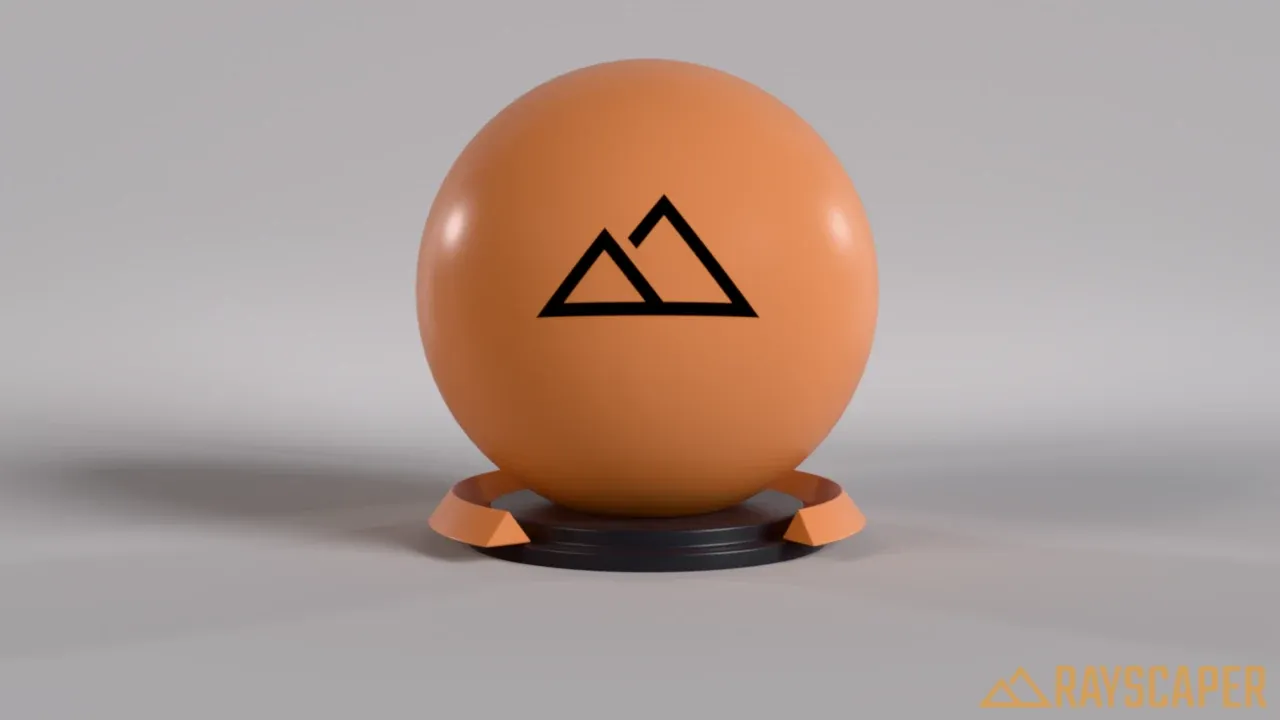
Almost solid.
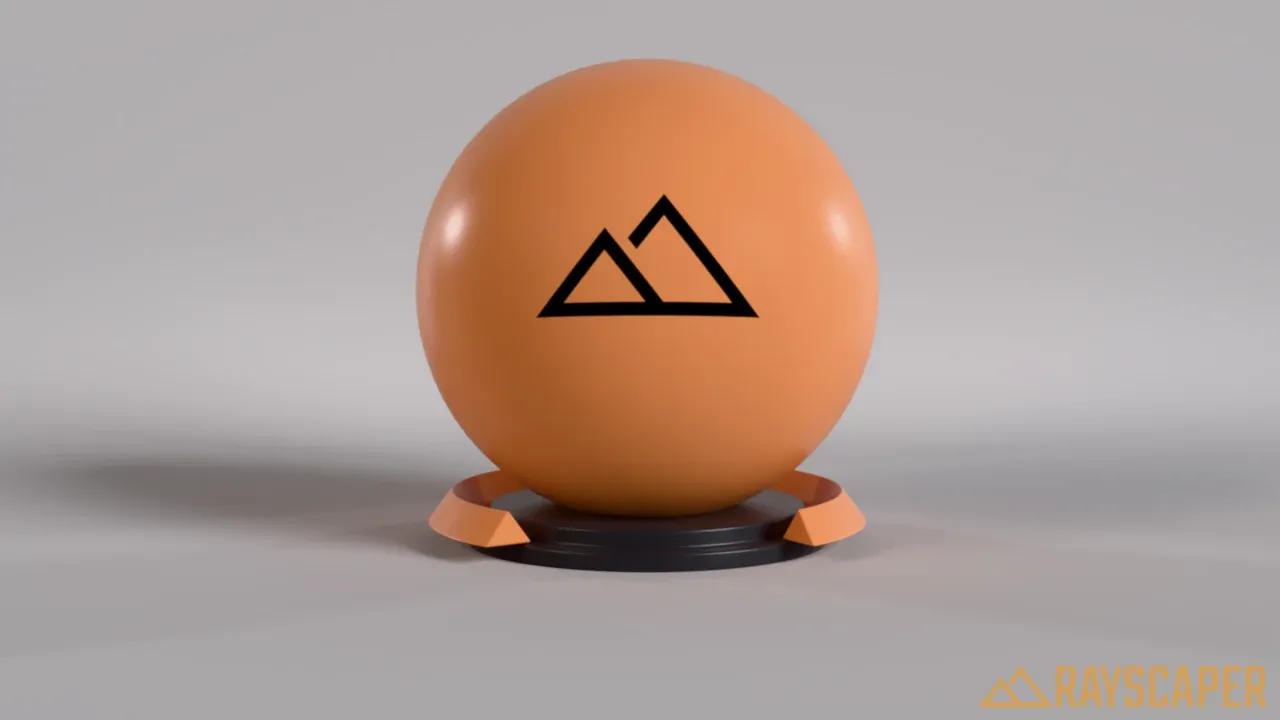
Solid.
Normal Map
Section titled “Normal Map”Adds surface detail, like the mortar joints between bricks, without extra geometry. A normal map image stores the direction of the surface in every pixel, which changes how the light falls on it. Normal maps are mostly blue and purple, because most of the surface points straight out.
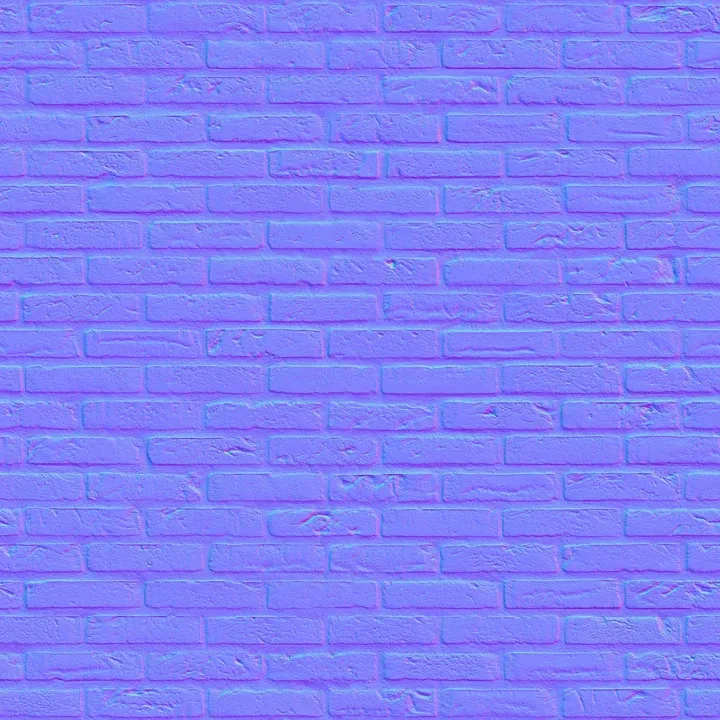
The normal map of the brick texture below.
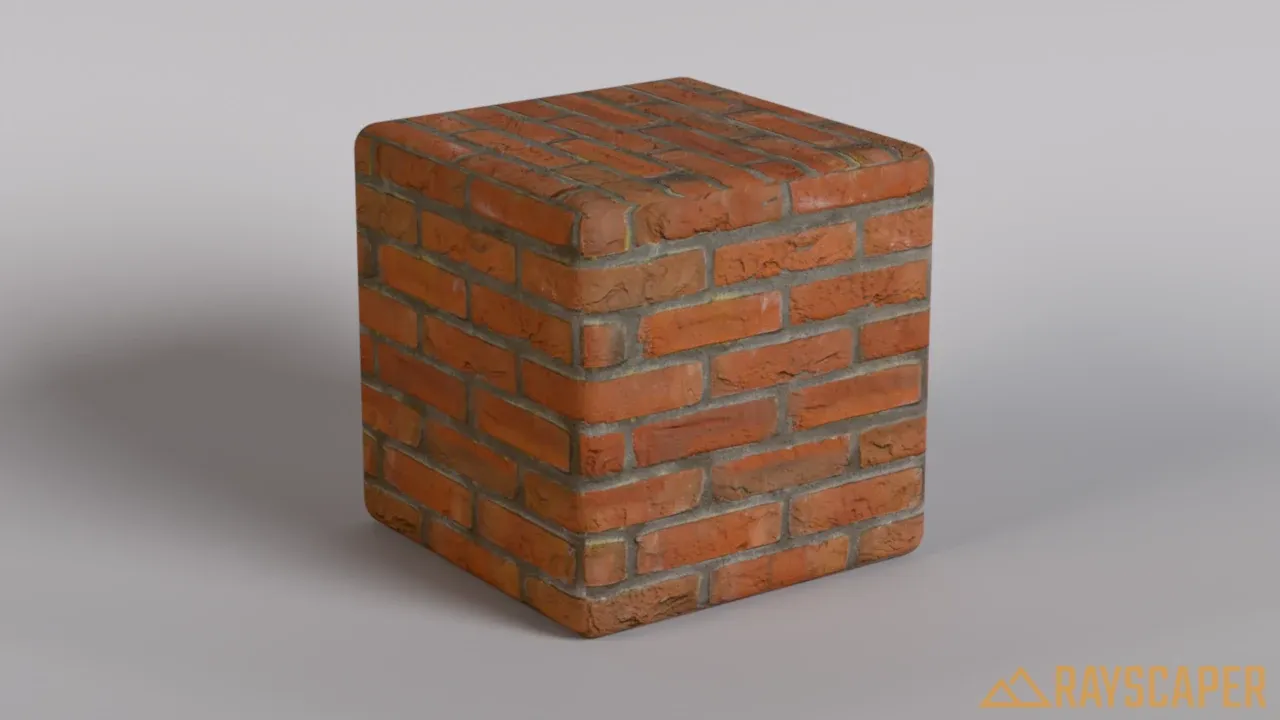
The mortar joints look recessed and the bricks catch the light.
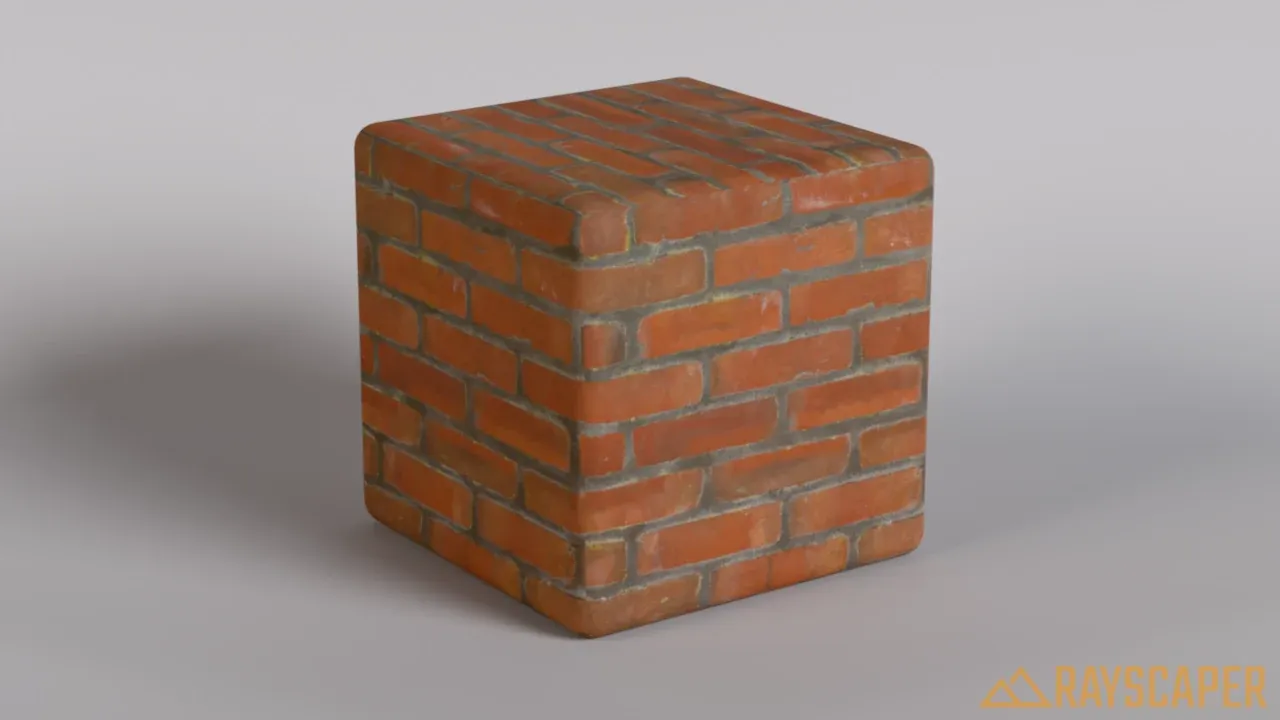
Without the normal map, the bricks look printed on a flat surface.
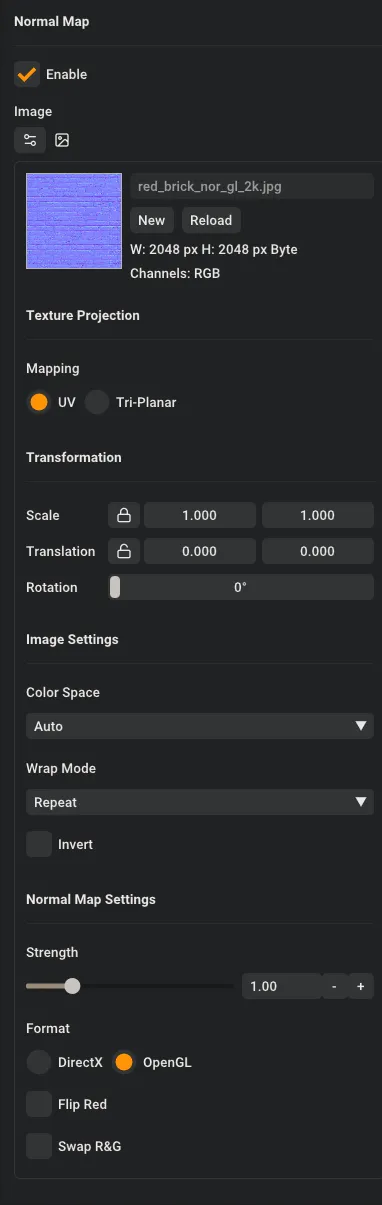
The normal map settings. Loading a normal map image turns it on. Flip Red and Swap Red & Green appear when you expand the normal map editor.
| Setting | Description |
|---|---|
| Enable | Turns the normal map on or off. |
| Image | The normal map image. It must be a tangent-space normal map, the standard kind texture tools make. |
| Strength | How deep the details look, from 0 to 5. 1 is the depth the map was made for, 2 to 3 exaggerates it. |
| Format | OpenGL (Y+) or DirectX (Y-). OpenGL is most common. Switch to DirectX if bumps look like dents. |
| Flip Red | Inverts the horizontal direction. Use it if details look mirrored. |
| Swap R&G | Swaps the horizontal and vertical directions, for maps that look rotated by 90°. |
You can rotate a normal map like any other image texture, with its Rotation or with Texture Mapping…. Rayscaper turns the directions stored in the map along with the image, so the details stay lit from the right side.
Emission
Section titled “Emission”Any material can glow and light the scene. By default, it emits light from the front of a surface only.
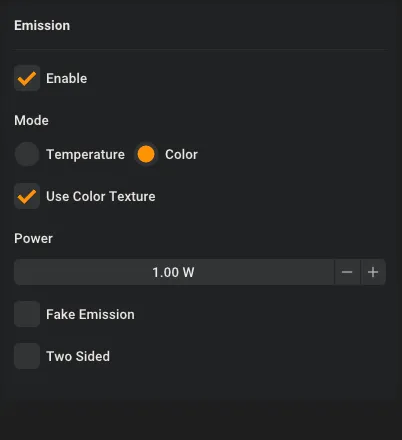
The emission settings, in Color mode with Use Color Texture enabled.
Enable turns emission on. Mode sets the color of the light: Temperature for a realistic color in Kelvin, or Color for any color you like.
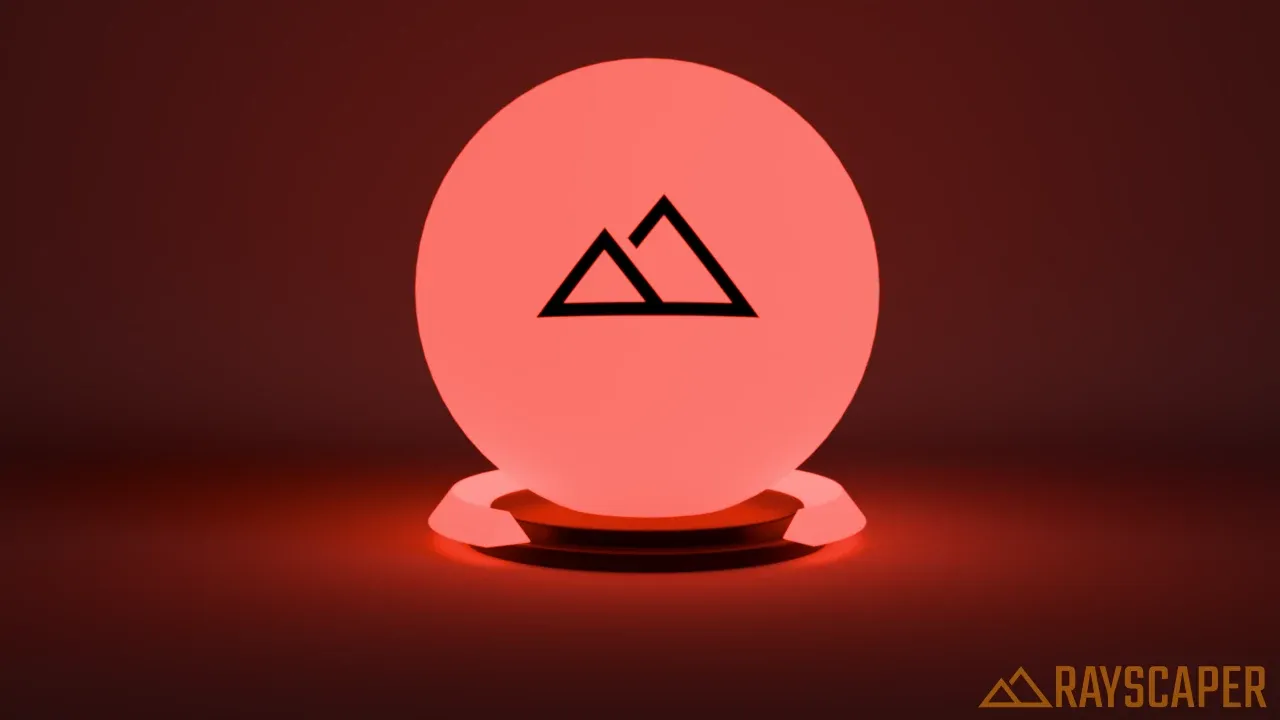
Temperature: the color of the light in Kelvin (K), from warm orange at 1000-3000 K, like candles and bulbs, to cool blue-white at 6500 K and up.
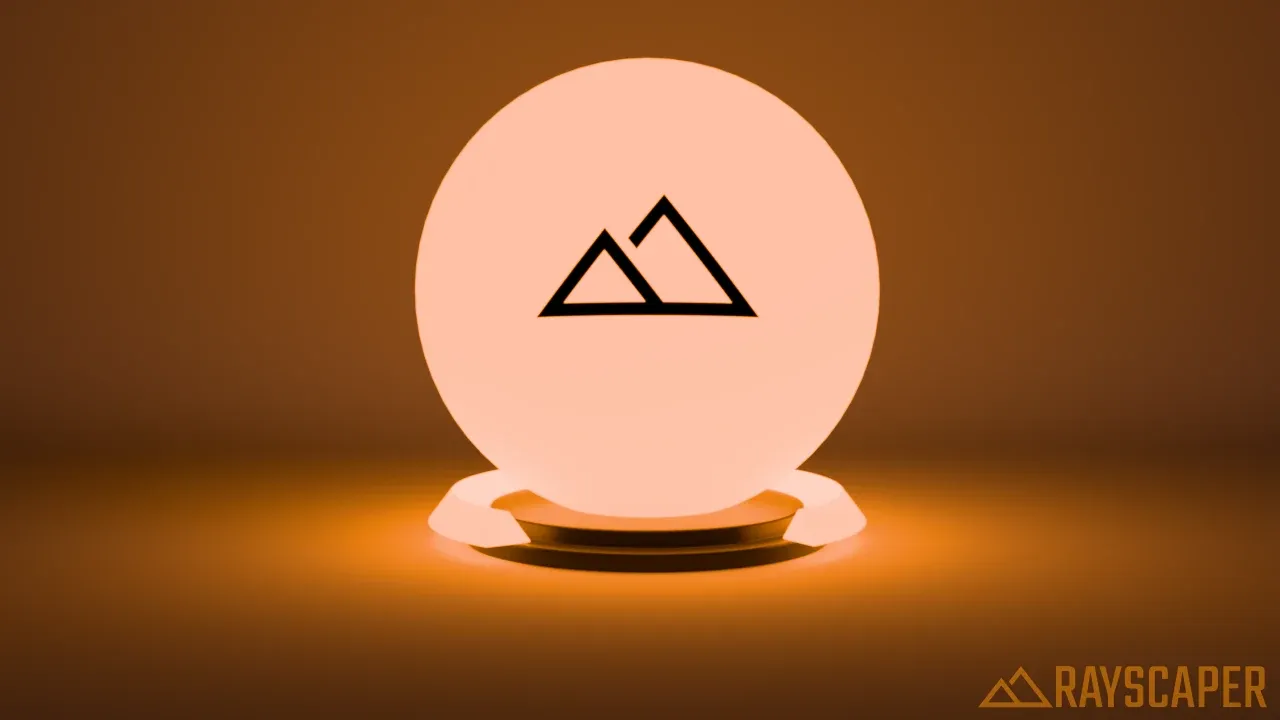
Candlelight orange.
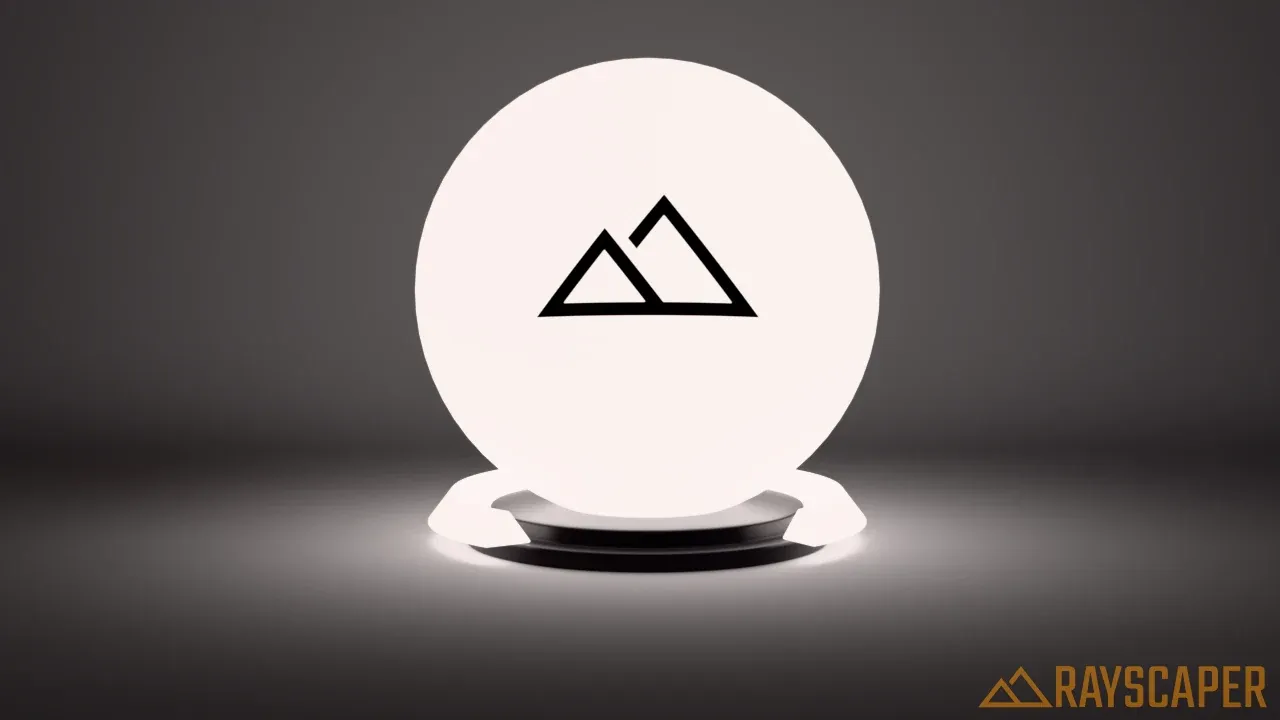
Neutral daylight white.
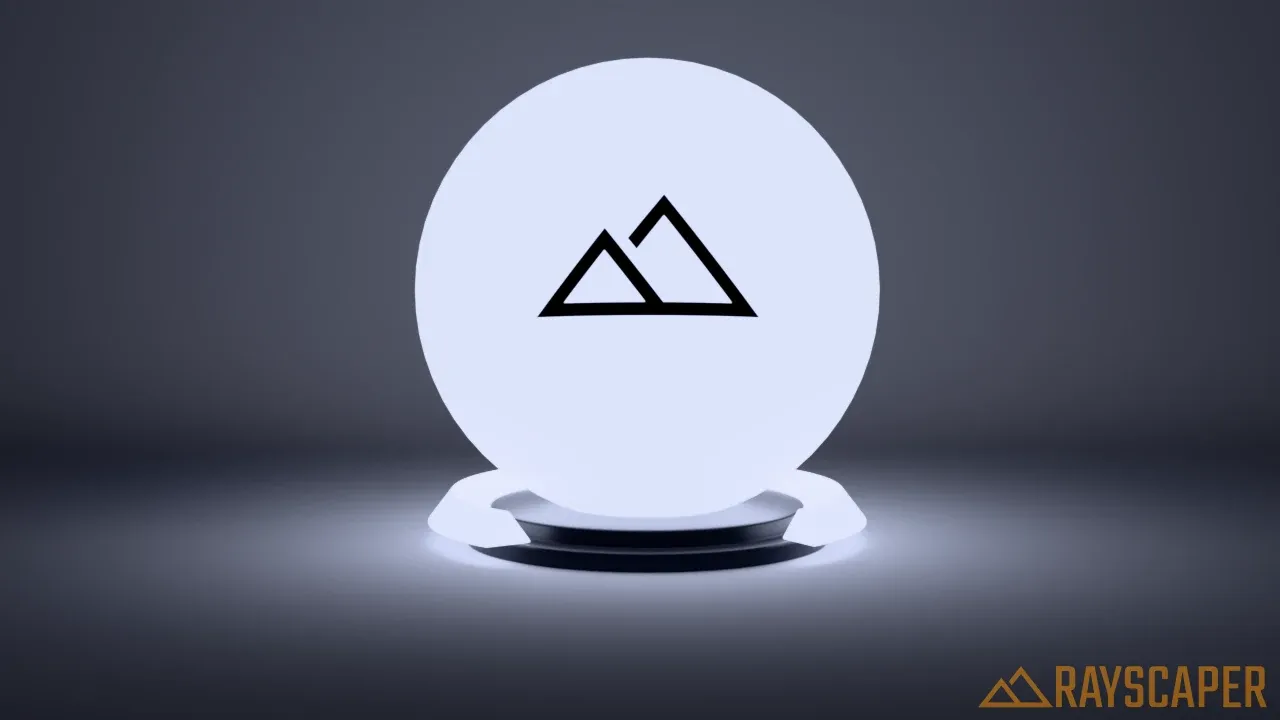
Cool white.
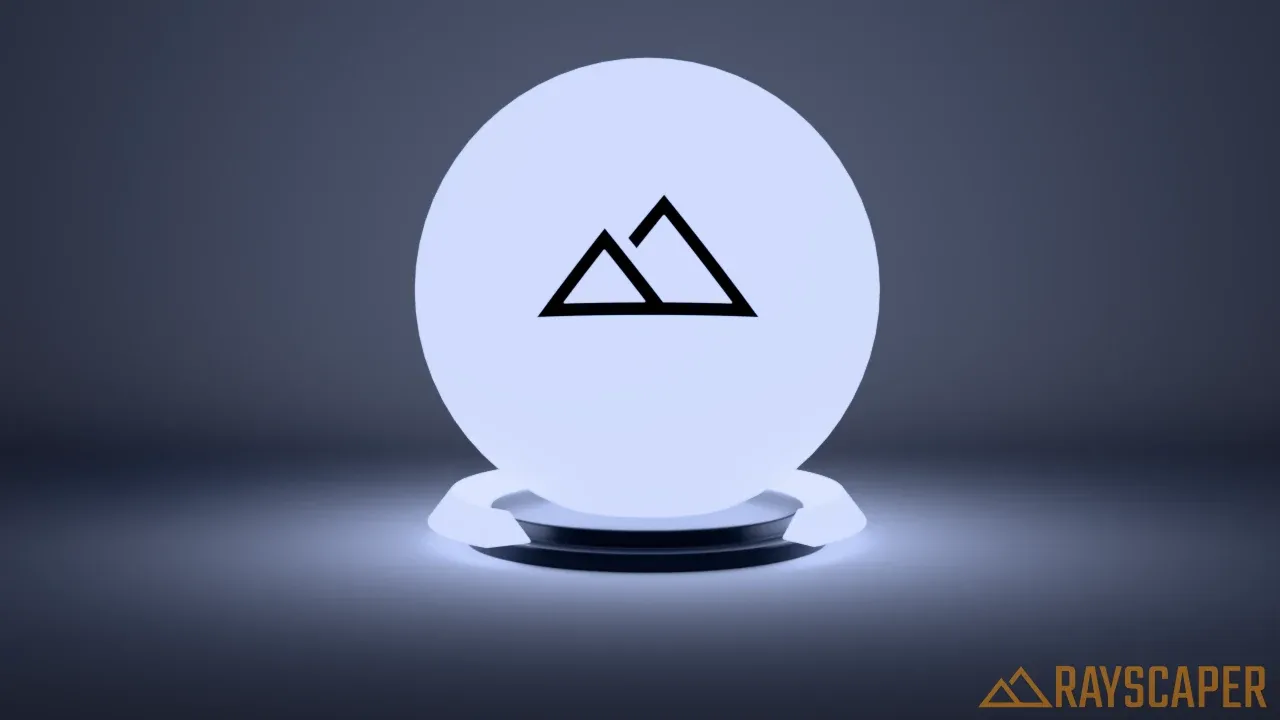
Clear-sky blue.
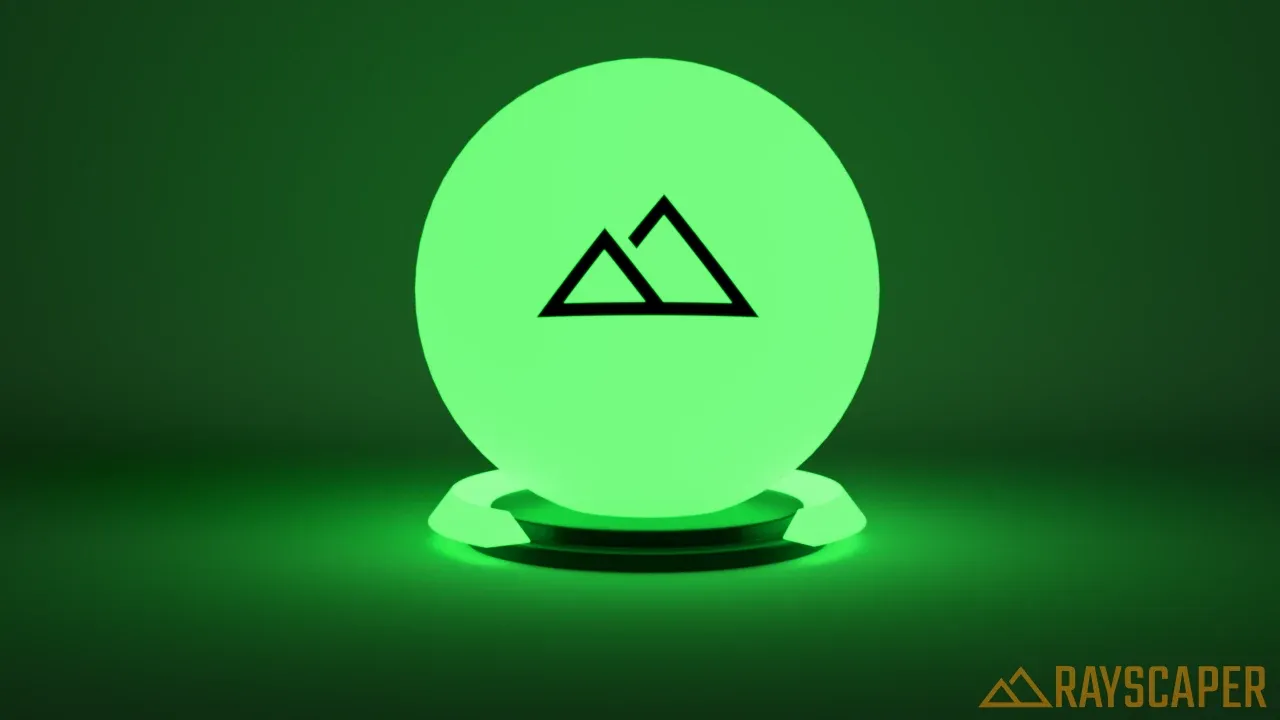
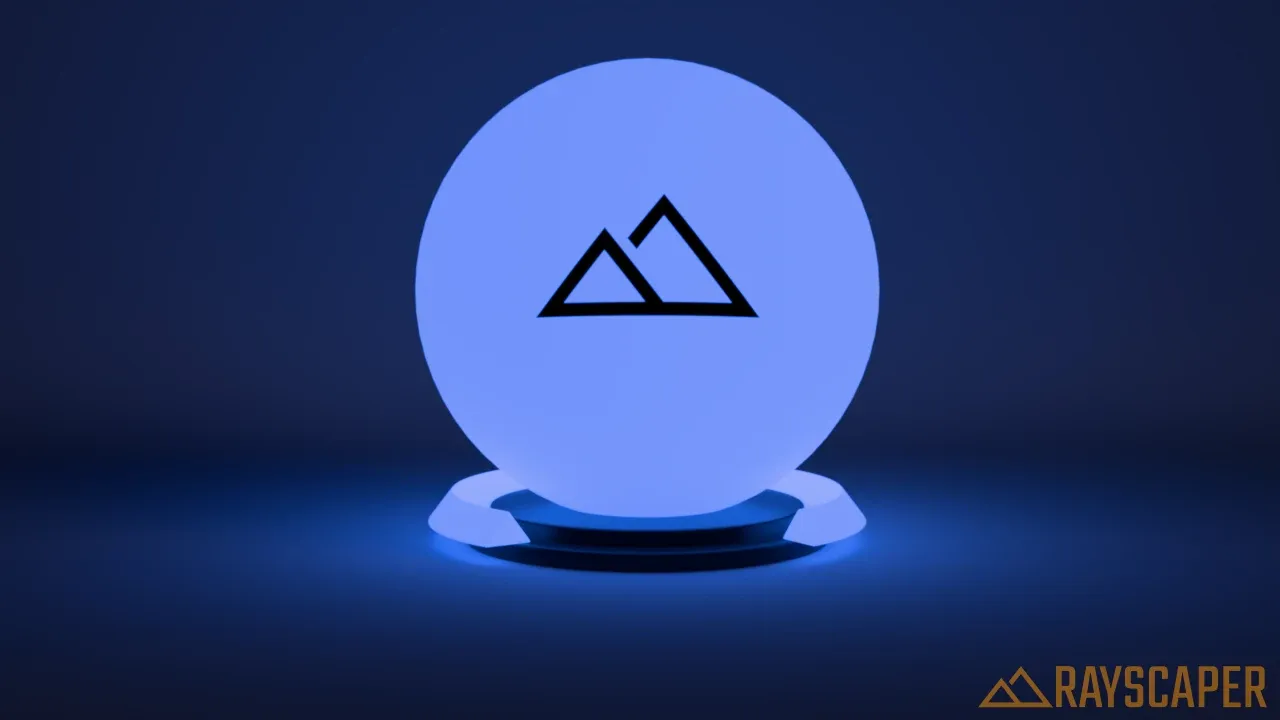
Use Color Texture (Color mode): use the image in the material’s Color texture slot to color its emitted light. Add the image and set its mapping in Color first, then enable Use Color Texture under Emission. Turn it off to use a single color from the emission color picker. This works well for TV screens, illuminated signs and other surfaces whose bright areas need different colors.
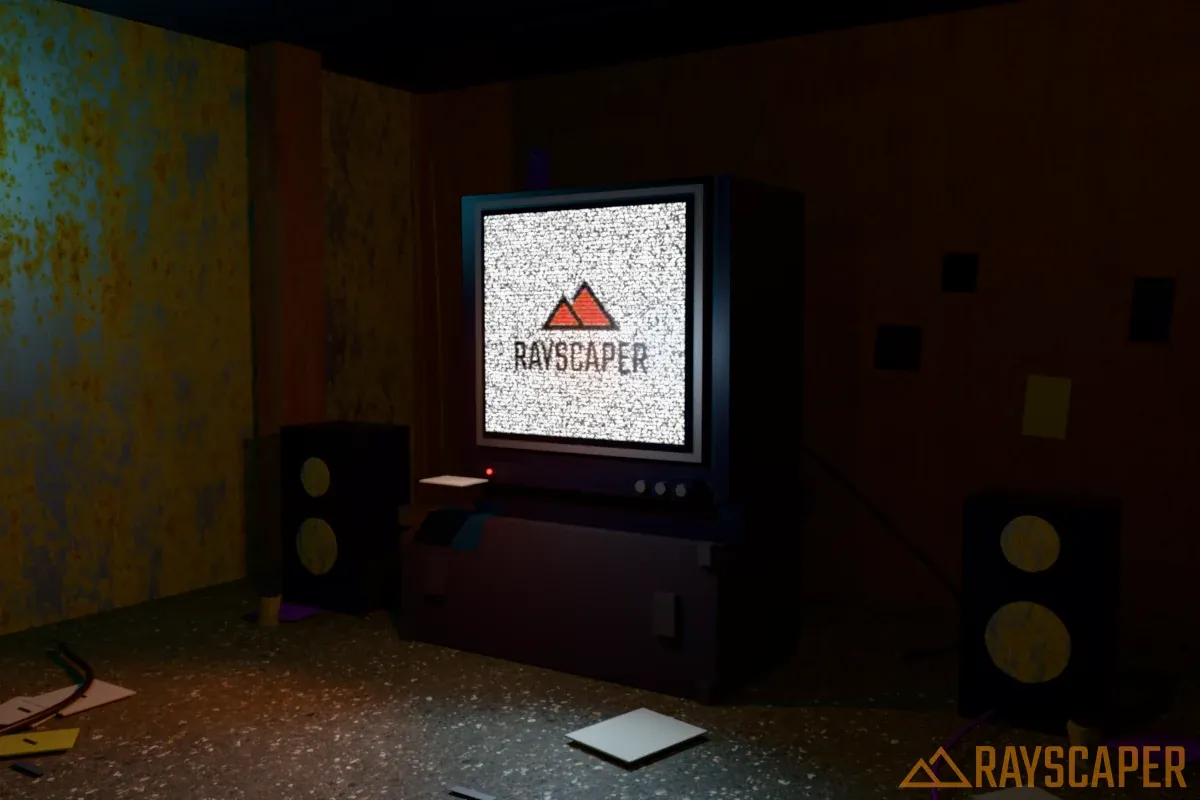
The CRT uses its picture texture for emission. Additional lights near the TV make the cool and warm spill easier to see.
Power: how much light the material emits, in Watts, from 0 to 1000. The emitting surface itself quickly becomes pure white; watch how much light reaches its surroundings instead.
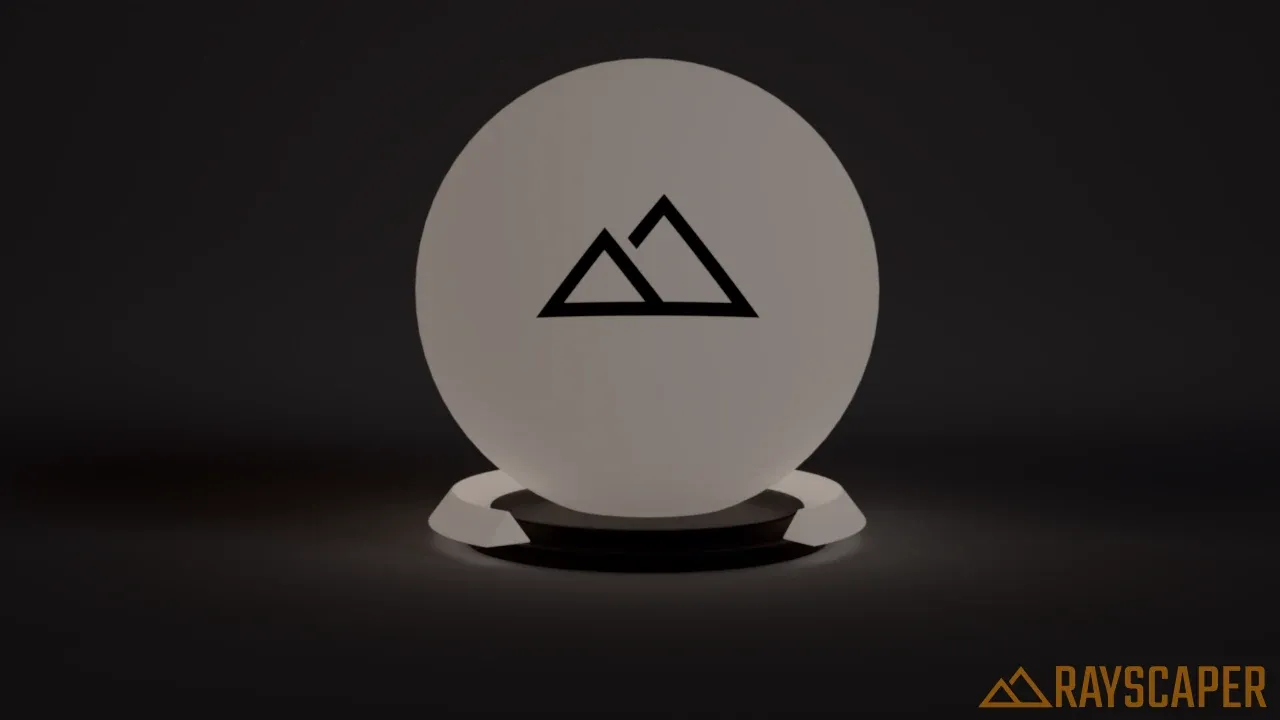
A faint glow.
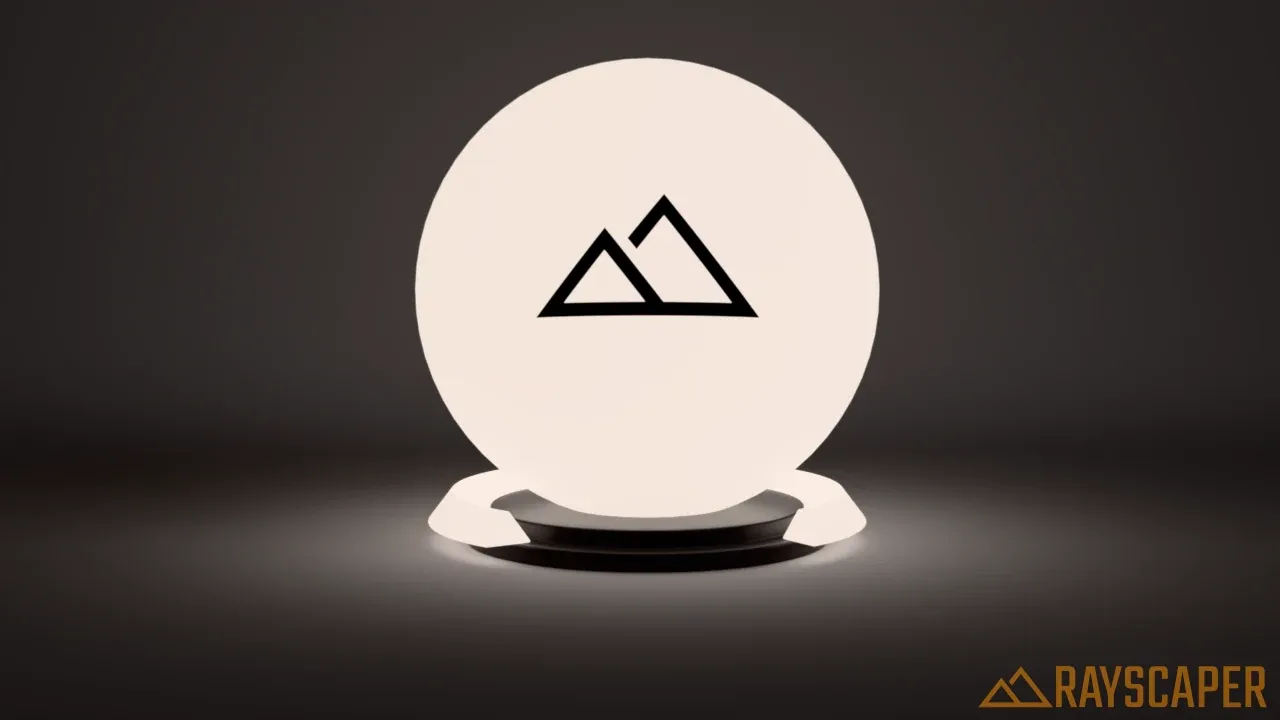
The ball lights its pedestal and the floor around it.
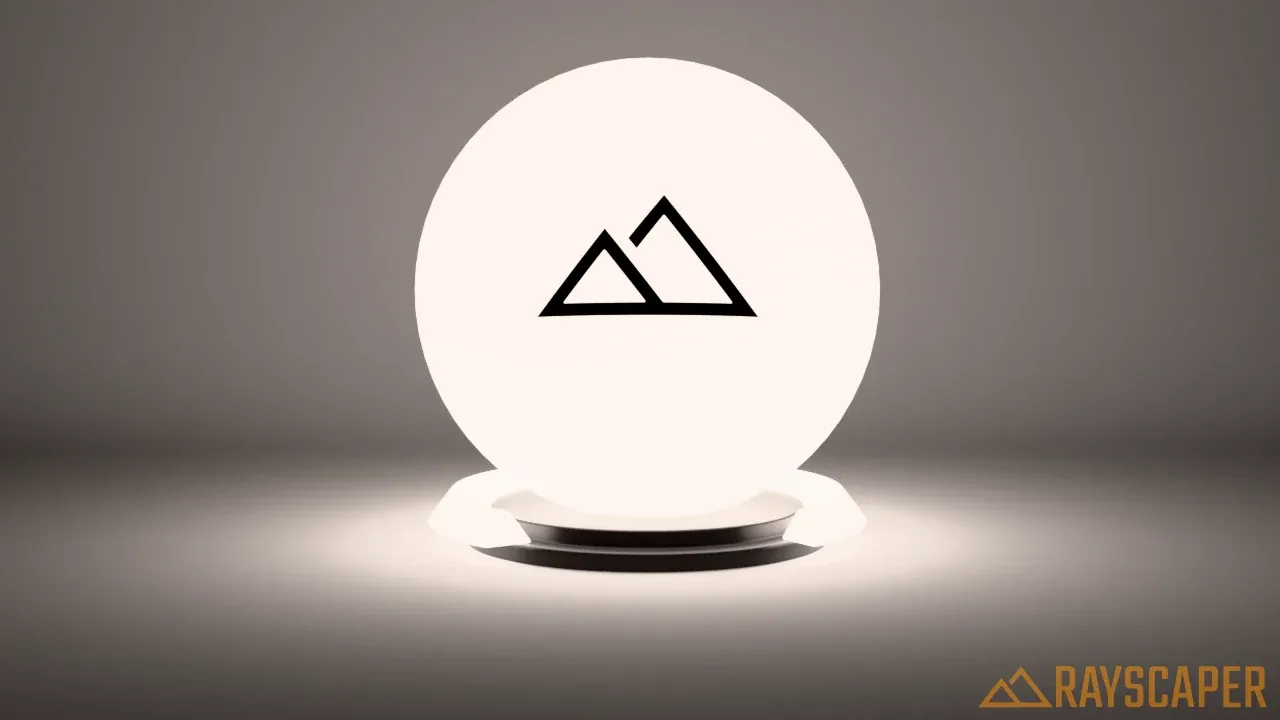
The ball lights the whole studio.
Fake Emission: the material looks bright, but doesn’t light anything around it. It renders faster, so use it for glowing details like indicator lights and screens that don’t need to light the scene.
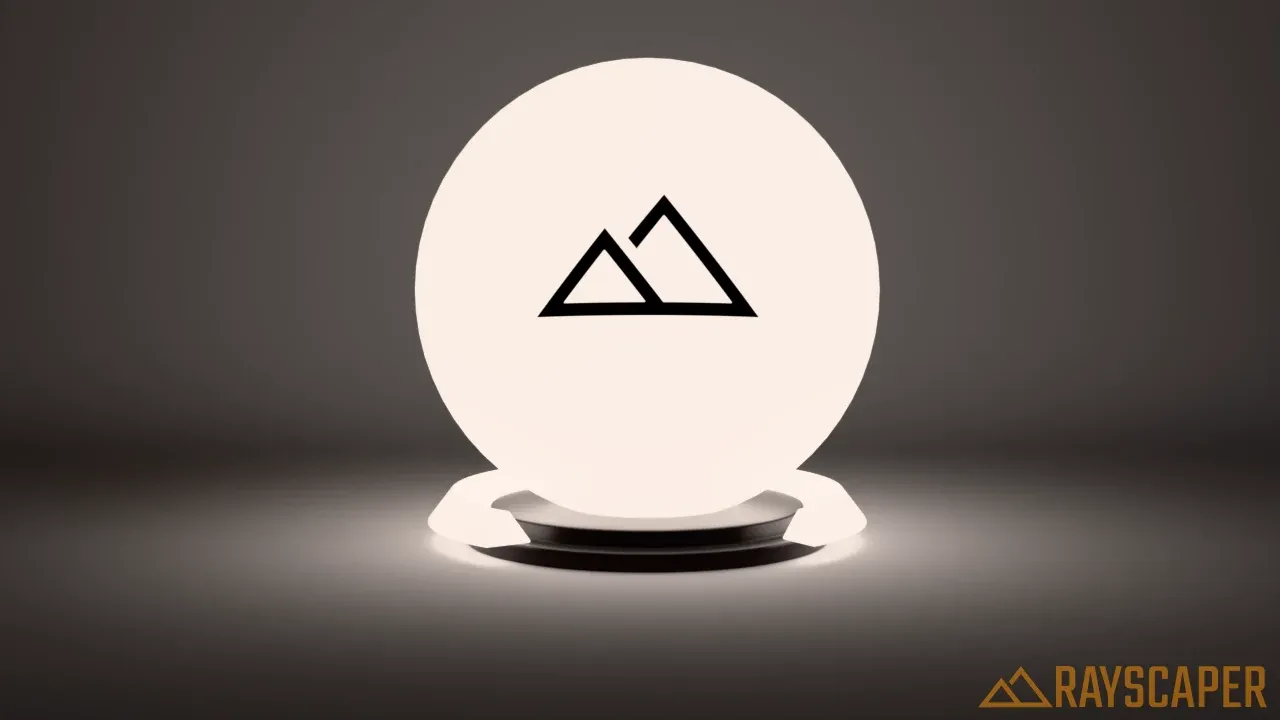
The ball lights the pedestal and the backdrop.
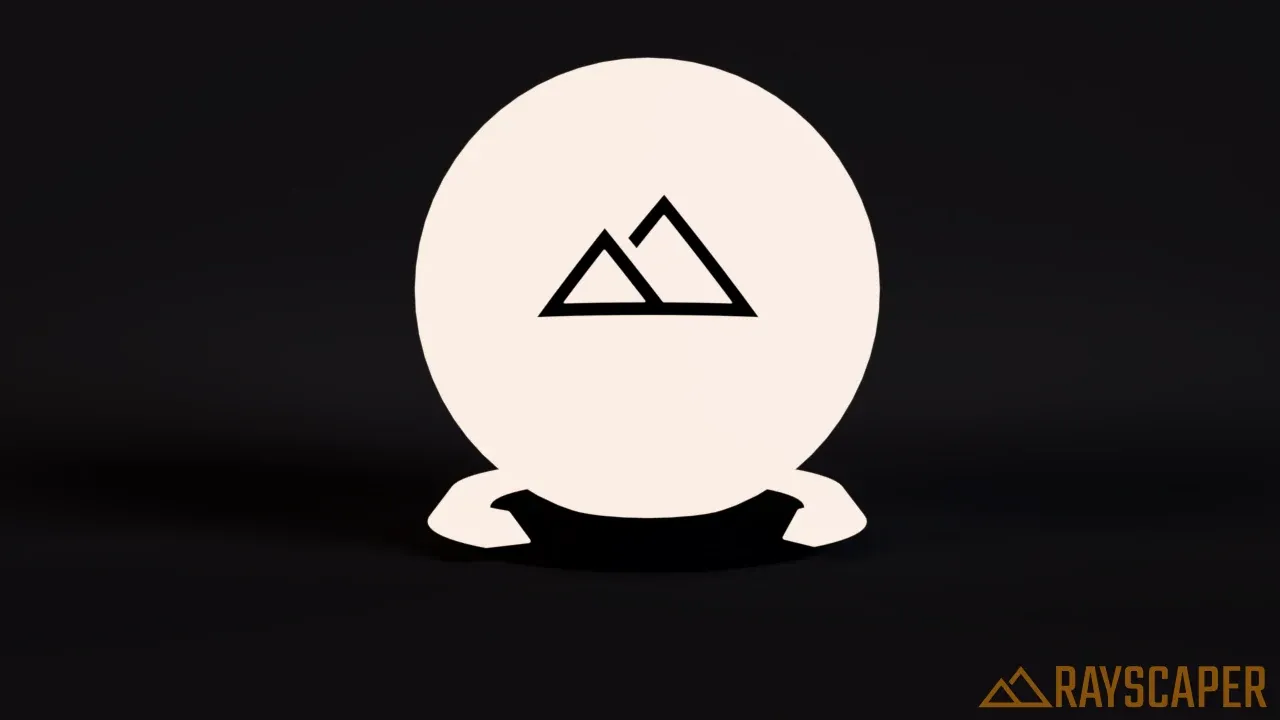
The ball looks just as bright, but the studio stays dark.
Two Sided: emits light from both sides of the surface instead of only the front.
Credits
Section titled “Credits”The example models, textures and HDRIs are CC0 assets from Poly Haven. The CRT scene also uses the Rayscaper logo from this repository.