
Asset Manager
The Asset Manager at the bottom of the Rayscaper window holds everything you can drag into a scene: HDRIs for the environment and materials for your surfaces. Show or hide it with the Assets button at the right of the toolbar.
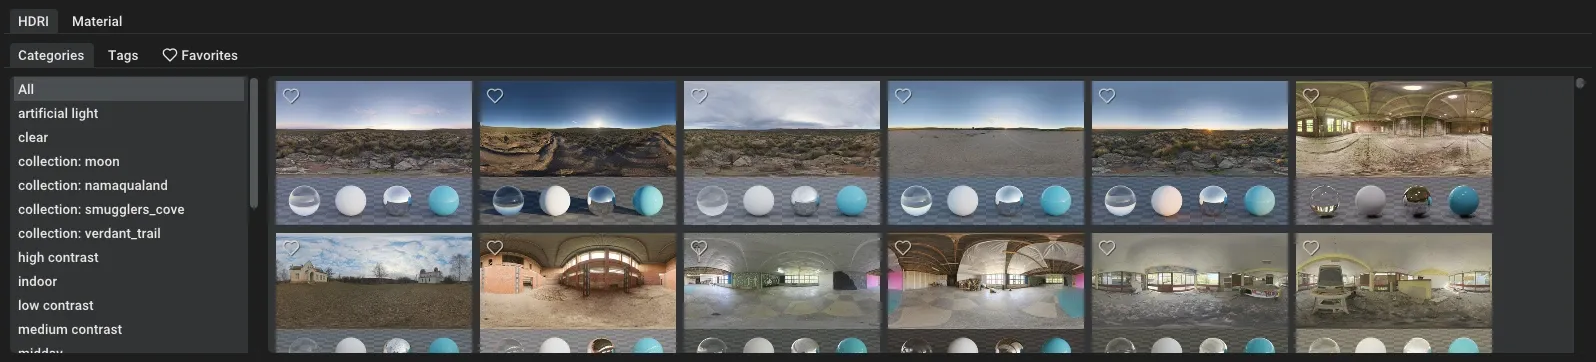
The Asset Manager. Drag an HDRI or material onto the render or onto the Scene Editor.
Where the assets come from
Section titled “Where the assets come from”- Poly Haven: thousands of free HDRIs and materials from Poly Haven. They have a CC0 license: you can use them for any purpose, including commercial work, without credit, and you can share them with your own work.
- My Library: the materials you saved yourself and the material packs you imported. These aren’t from Poly Haven, so their license is up to whoever made them.
Hover over a thumbnail to see the name of the asset, its source and its creator.
Rayscaper downloads a Poly Haven asset the first time you use it. While it downloads, the Scene Editor shows a progress bar with the name of the asset. Set the resolution and file format of the downloads under File > Settings… > Asset Library, see Settings.
Finding assets
Section titled “Finding assets”The Asset Manager has a tab for every kind of asset: HDRI and Material. Each tab has three ways to browse:
- Categories: pick a category in the list on the left, or All to see everything.
- Tags: the same, by tag. An asset can have several categories and tags.
- Favorites: only the assets you marked as a favorite.
The Material tab shows the materials of Poly Haven and of your own library together. To see only one of them, pick My Library or Poly Haven in the list above the categories and tags instead of All Sources. The list appears once you have materials in your own library.
To mark an asset as a favorite, click the heart in the corner of its thumbnail. Click it again to remove it from your favorites. Rayscaper remembers your favorites between sessions.
The thumbnails come in three sizes: set Thumbnail size to Small, Medium or Large under File > Settings… > Asset Library.
If the Asset Manager shows Failed to load assets, for example because you started Rayscaper without an internet connection, click Retry or choose Assets > Reload Assets.
The HDRI tab of the Asset Manager.
A high dynamic range image (HDRI) lights your scene with a photo of a real place. See Environments for its settings. You can apply an HDRI in two ways:
- Drag it onto the render. The HDRI replaces the current environment.
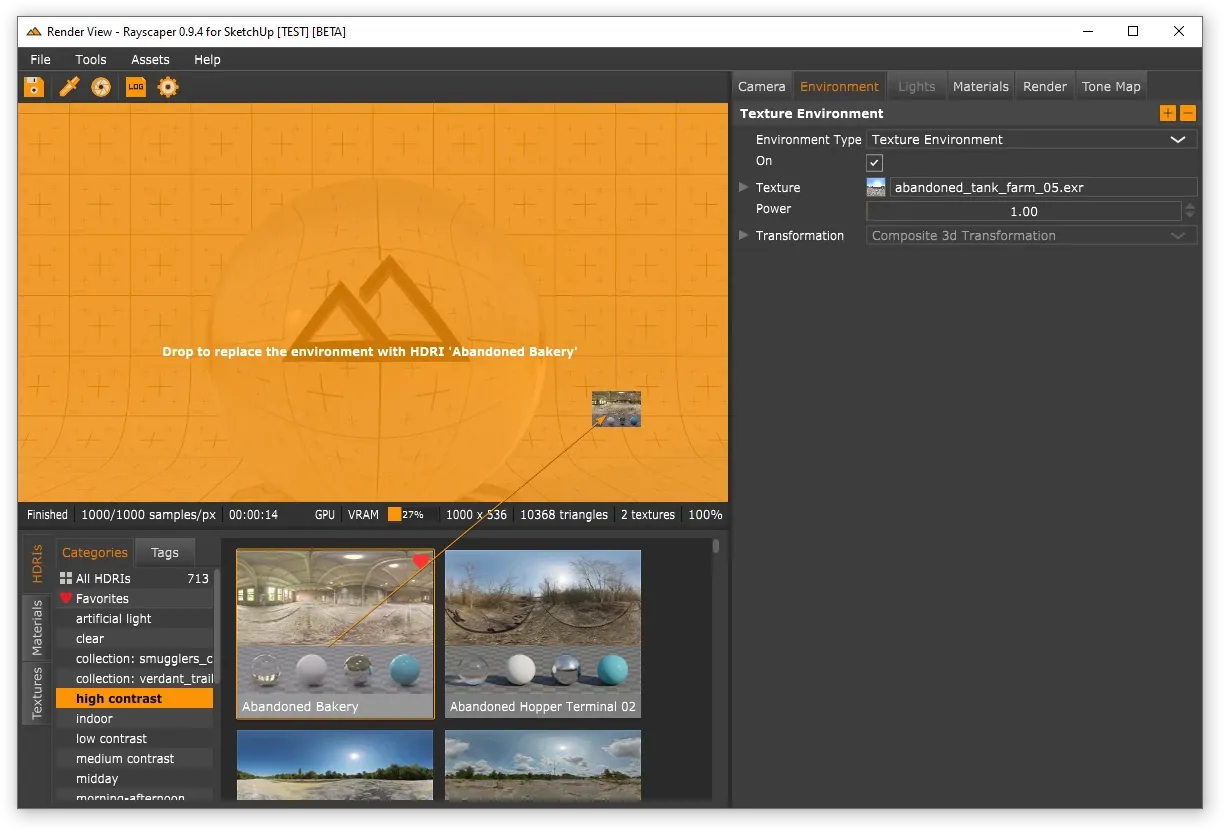
Drag an HDRI onto the render to replace the current environment.
- Open the Environment section of the Scene Editor and drag the HDRI onto it.
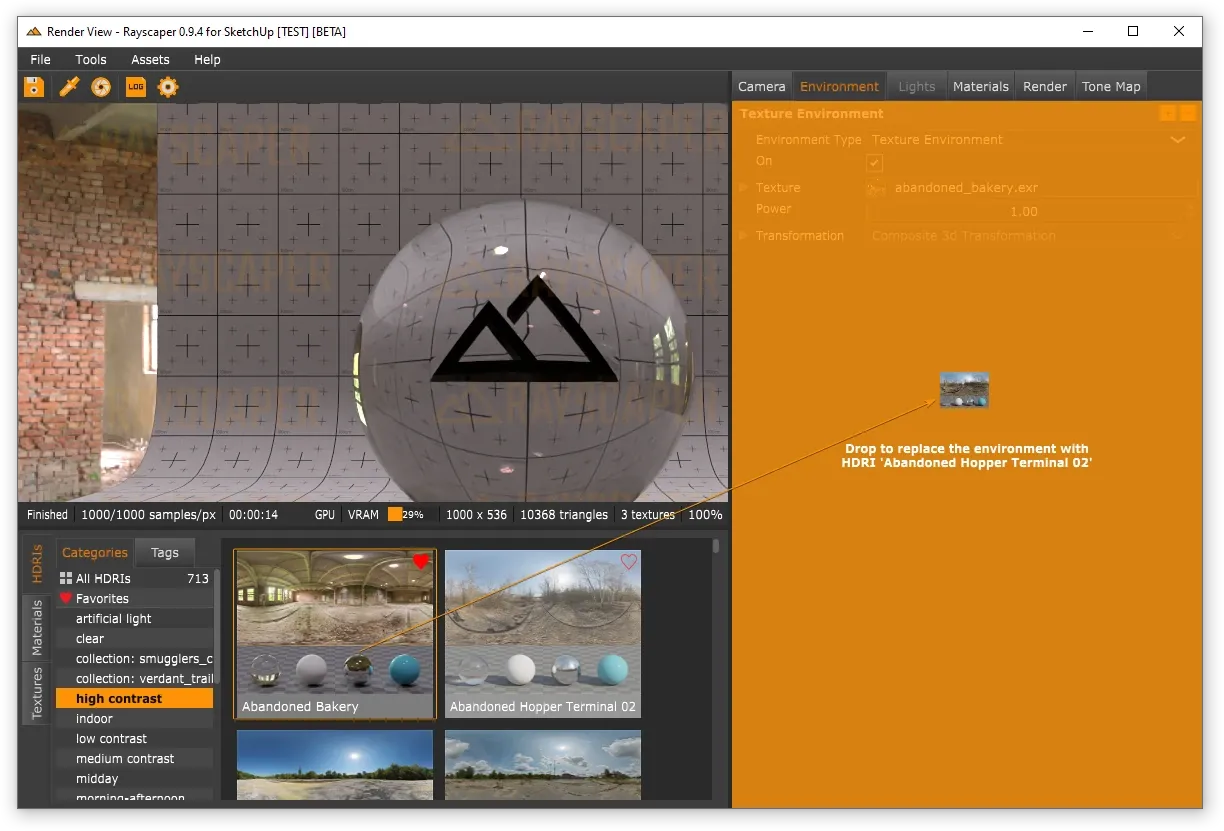
Drag an HDRI from the Asset Manager onto the Environment section.
Materials
Section titled “Materials”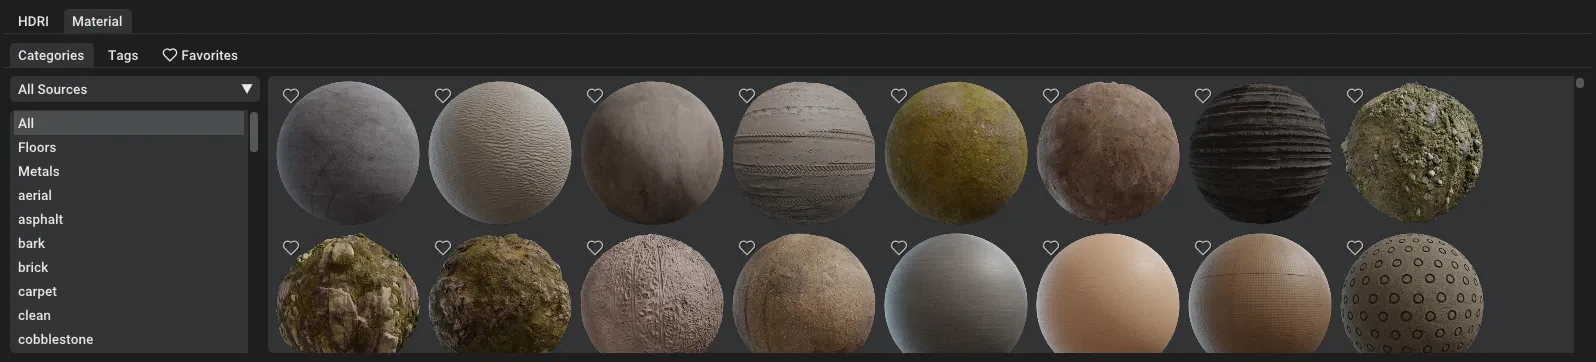
The Material tab of the Asset Manager.
The Material tab holds the Poly Haven materials and your own library: materials you saved for reuse and material packs made by other users. Apply a material in two ways:
- Drag it onto an object in the render. It applies to the material under the cursor, so every surface with that material changes.
- Select a material in the Materials section of the Scene Editor and drag the material from the Asset Manager onto the material editor.
Poly Haven materials
Section titled “Poly Haven materials”A Poly Haven material is a set of PBR textures for one surface: a color, a roughness and a normal map. Applying it turns the material into a PBR material with these three textures.
Library materials
Section titled “Library materials”A material of your own library replaces all the settings of the material you apply it to, including its type.
Click a library material to select it. Shift-click selects a range and Ctrl-click adds or removes a single material. Poly Haven materials can’t be selected, since there is nothing to export or delete. Right-click a selected material for:
- Export Material…, or Export N Materials… with several selected: saves them as a material pack.
- Delete Material, or Delete N Materials: removes them from your library.
The Assets menu has the same commands for the selection, as Export Selected Materials… and Delete Selected Materials, plus Favorite Selected Materials.
Importing and exporting materials
Section titled “Importing and exporting materials”A material pack is a zip file with one or more materials and their textures. Use it to move your library to another computer or to share materials with other Rayscaper users.
- Import: choose Assets > Import Materials… and pick one or more material packs.
- Export: select the materials, then right-click and choose Export Material…, or choose Assets > Export Selected Materials….
Saving Materials
Section titled “Saving Materials”You can save your materials to the asset library for reuse in other projects or share them with other Rayscaper
users. First, select the material in the Materials section of the Scene Editor and click the Save Material…
button at the top of the material editor. This opens the material save panel in place of the material settings.
Click Save Material… again to close the panel without saving.
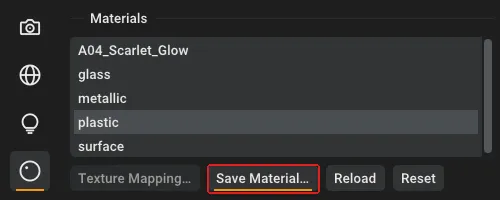
Open the material save panel via the Save Material… button in the material editor.
Next, you need to fill in some fields about your material:
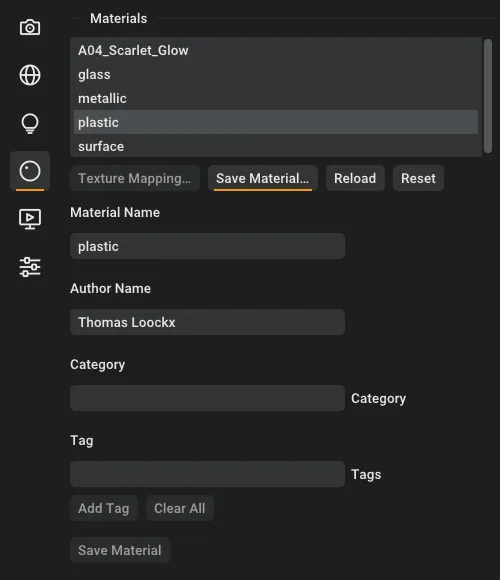
The material save panel.
Material Name: The name of the material. Rayscaper fills in the current name of the material. Use a descriptive name so you can find your material again later.
Author Name: Name of the creator of this material. Tip: You can let Rayscaper autofill the author name by
configuring the Asset author in the settings dialog (File > Settings…).
Category: The category the material belongs to. This can be an existing category or a new category.
Tag: You can tag the material with optional tags to make finding or grouping similar materials easier. Type a tag
and click Add Tag to add it. Click the × next to a tag to remove it again.
The Save Material button is enabled once the name, author, and category are filled in. After clicking it, Rayscaper
renders a preview thumbnail and adds the material to your library. You can find it in the Material tab of the
asset manager, under the category you chose and under the My Library source.