
User Interface
SketchUp toolbar
Section titled “SketchUp toolbar”The Rayscaper toolbar in SketchUp gives you quick access to the render window and light creation tools.

| Button | Description |
|---|---|
| Start Render | Opens the Rayscaper render window and starts rendering. |
| Add Point Light | Creates a point light in your scene. |
| Add Spotlight | Creates a spotlight in your scene. |
| Add Directional Light | Creates a directional light in your scene. |
| Add Area Light | Creates an area light in your scene. |
| Lock Camera | Stops camera sync with SketchUp. Use this to navigate your model while keeping the current render angle. Only available while rendering. |
| Match SketchUp Viewport | Syncs the Rayscaper camera with SketchUp’s viewport and matches the render resolution to the SketchUp aspect ratio. Only available while rendering. |
| Show License Dialog | Opens the license dialog. Only shown when SketchUcation Tools is installed. |
| Show Documentation | Opens this documentation website. |
The Composition Guide isn’t on the toolbar; you’ll find it in the Extensions > Rayscaper menu.
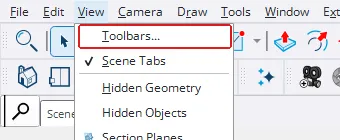
I lost my toolbar
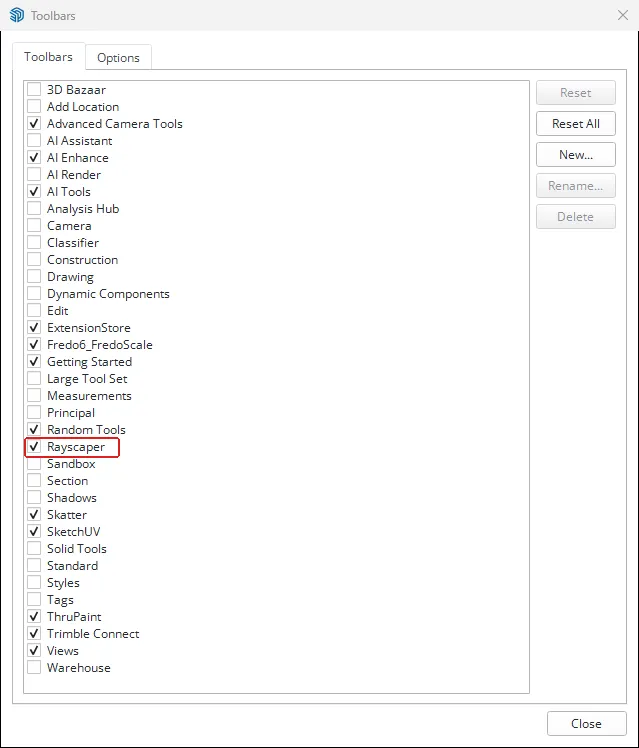
Section titled “I lost my toolbar”If the toolbar isn’t visible after installing Rayscaper, go to View > Toolbars… in SketchUp:
Tick Rayscaper in the list and click Close:
Composition Guide
Section titled “Composition Guide”While Rayscaper is running, an orange rectangle in the SketchUp viewport shows exactly what will be rendered. You can add guide lines on top to help frame your shot.
Pick a guide via Extensions > Rayscaper > Composition Guide. Your choice is saved with the model.
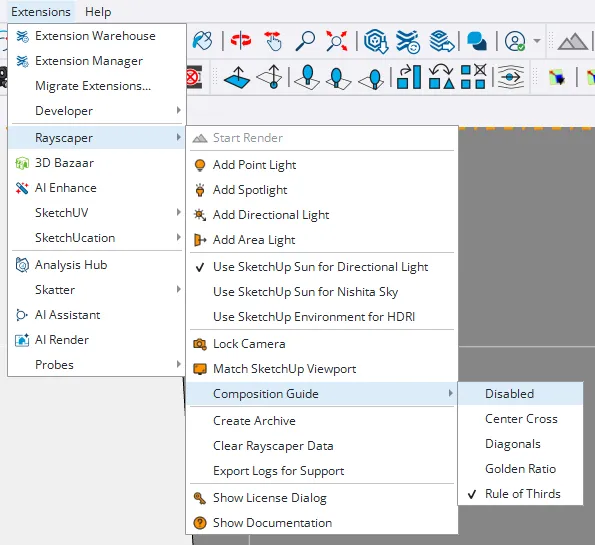
- Rule of Thirds: A 3×3 grid — place subjects along the lines or at intersections.
- Golden Ratio: Similar grid using the golden ratio (38.2% / 61.8%).
- Diagonals: Corner-to-corner lines for diagonal compositions.
- Center Cross: A crosshair through the center for symmetrical shots.
- Disabled: No guide lines, just the orange camera frame.
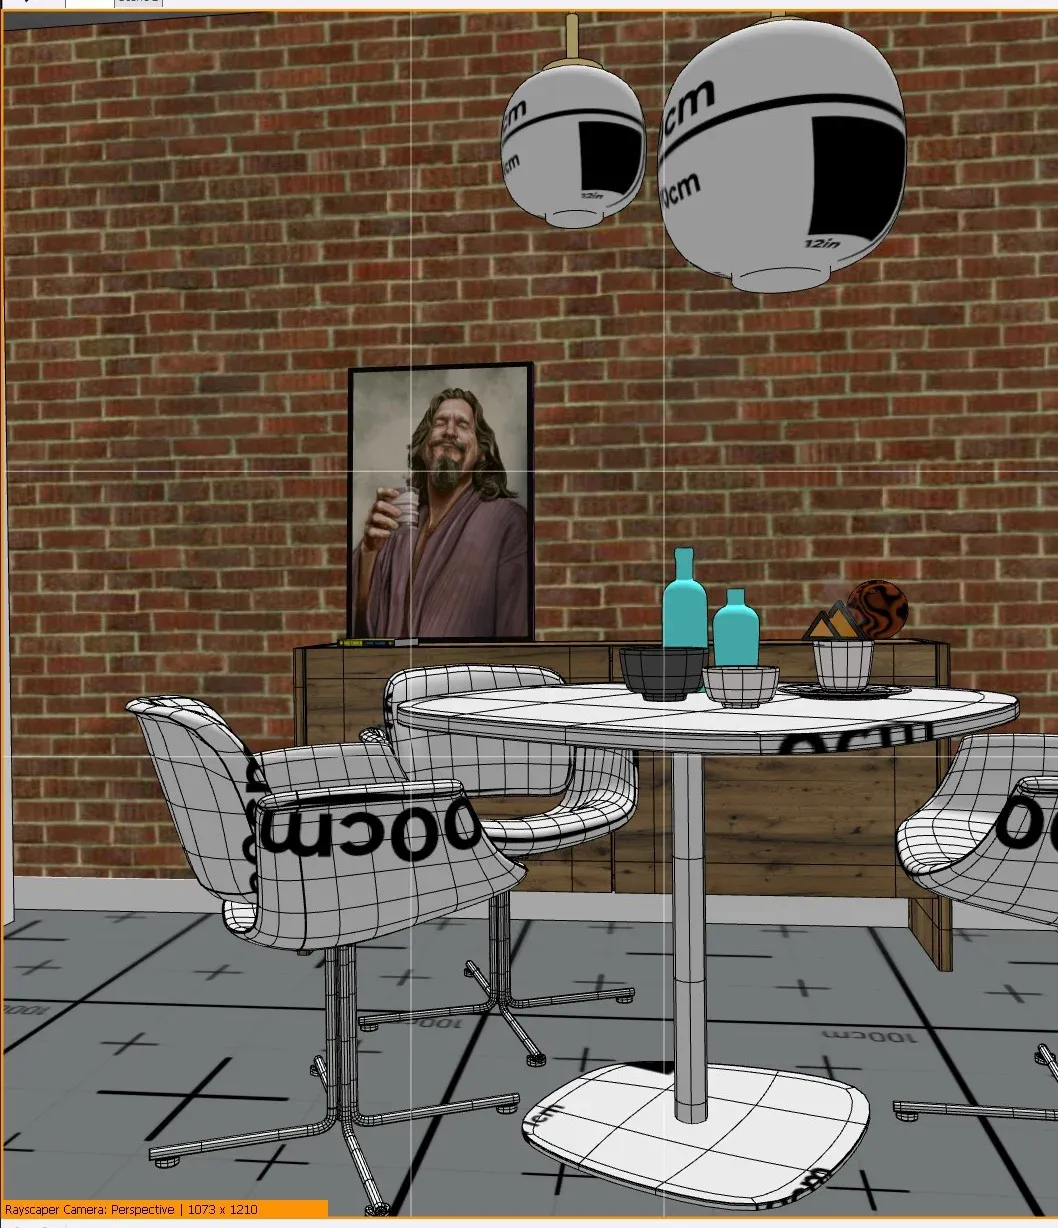
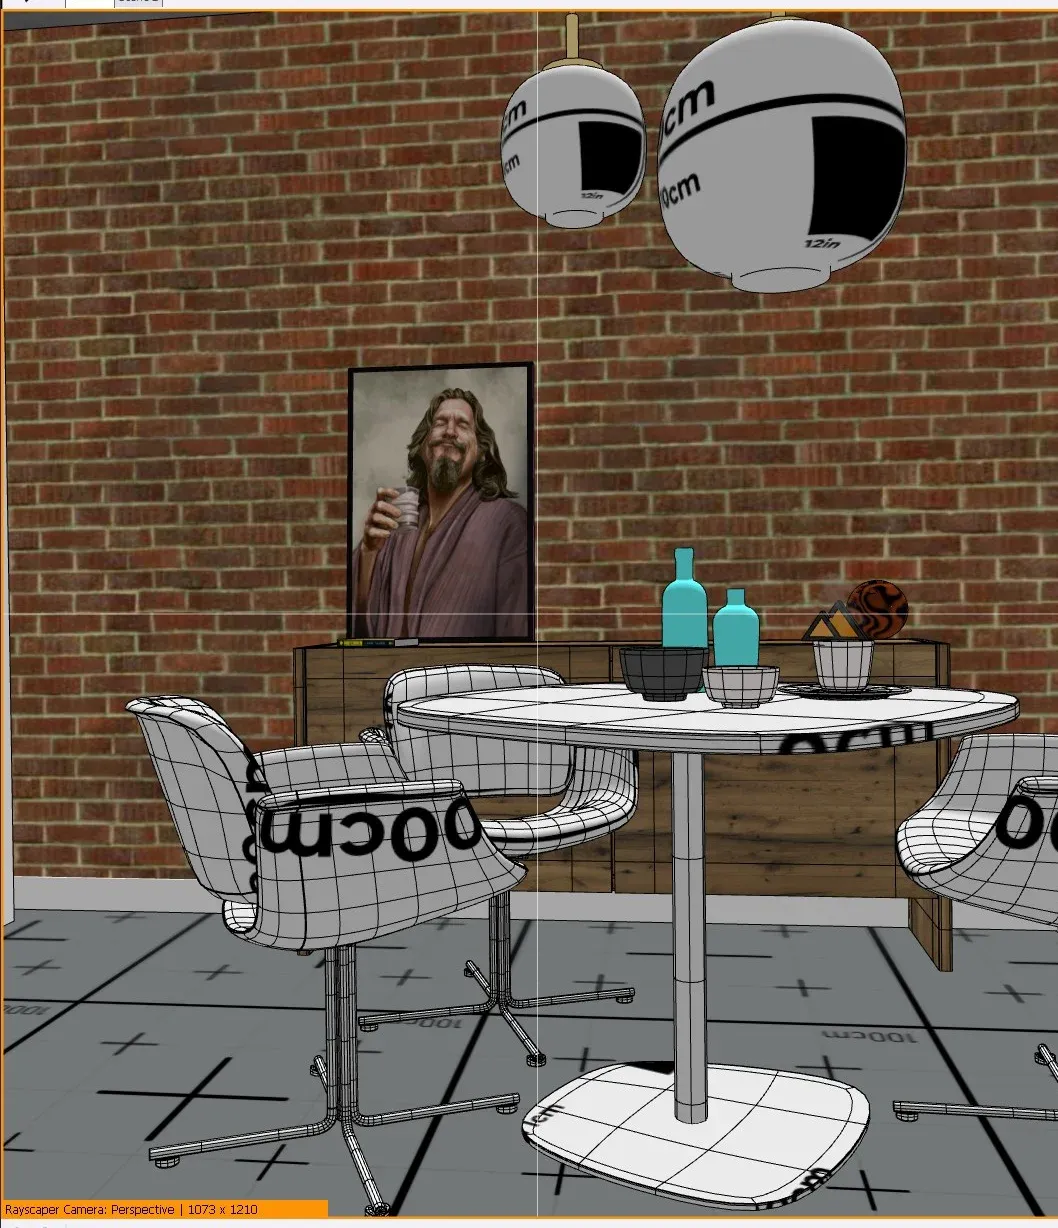
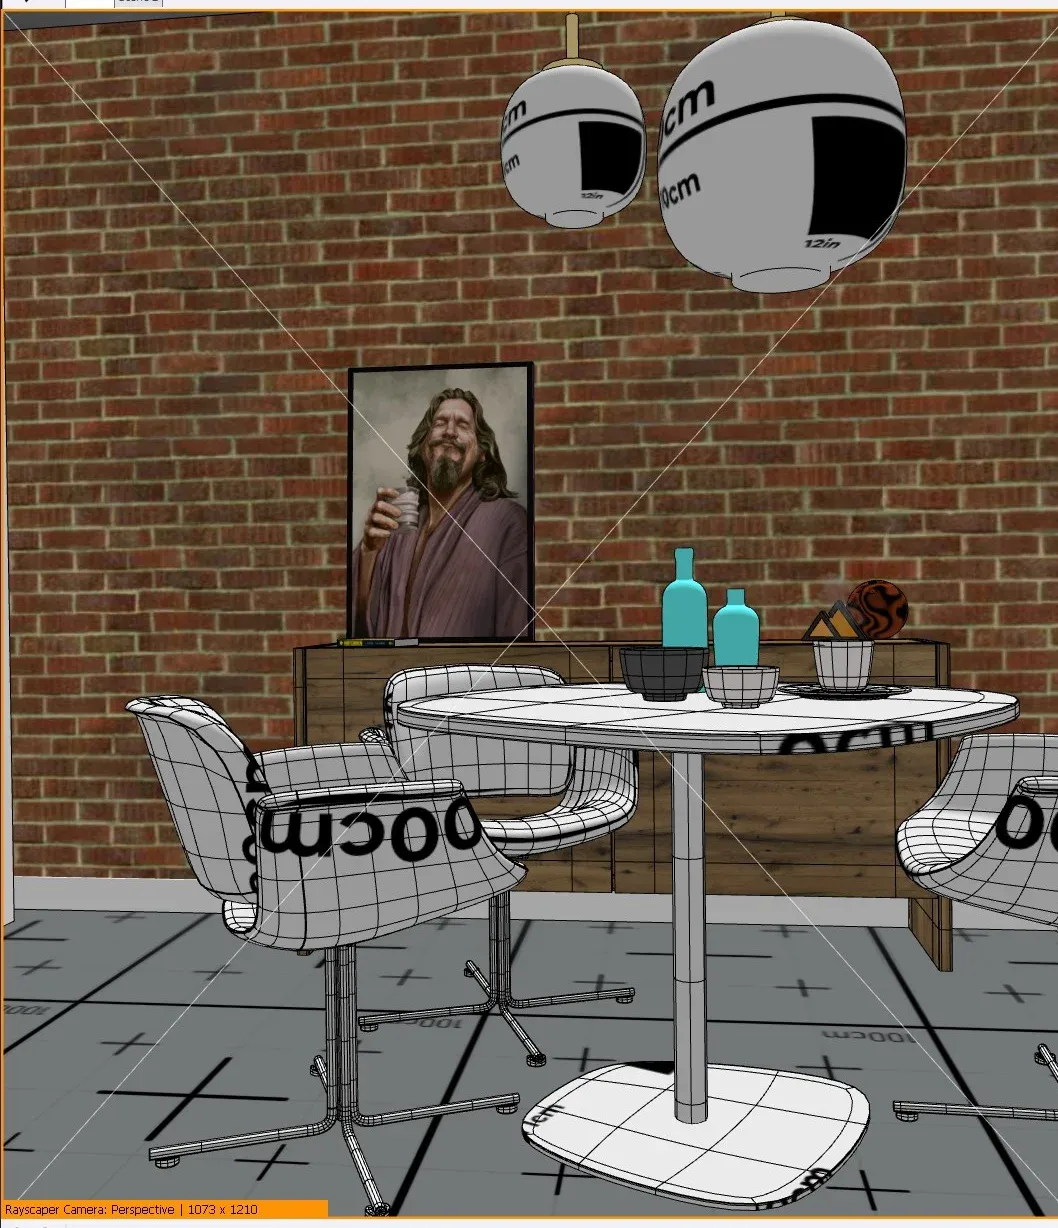
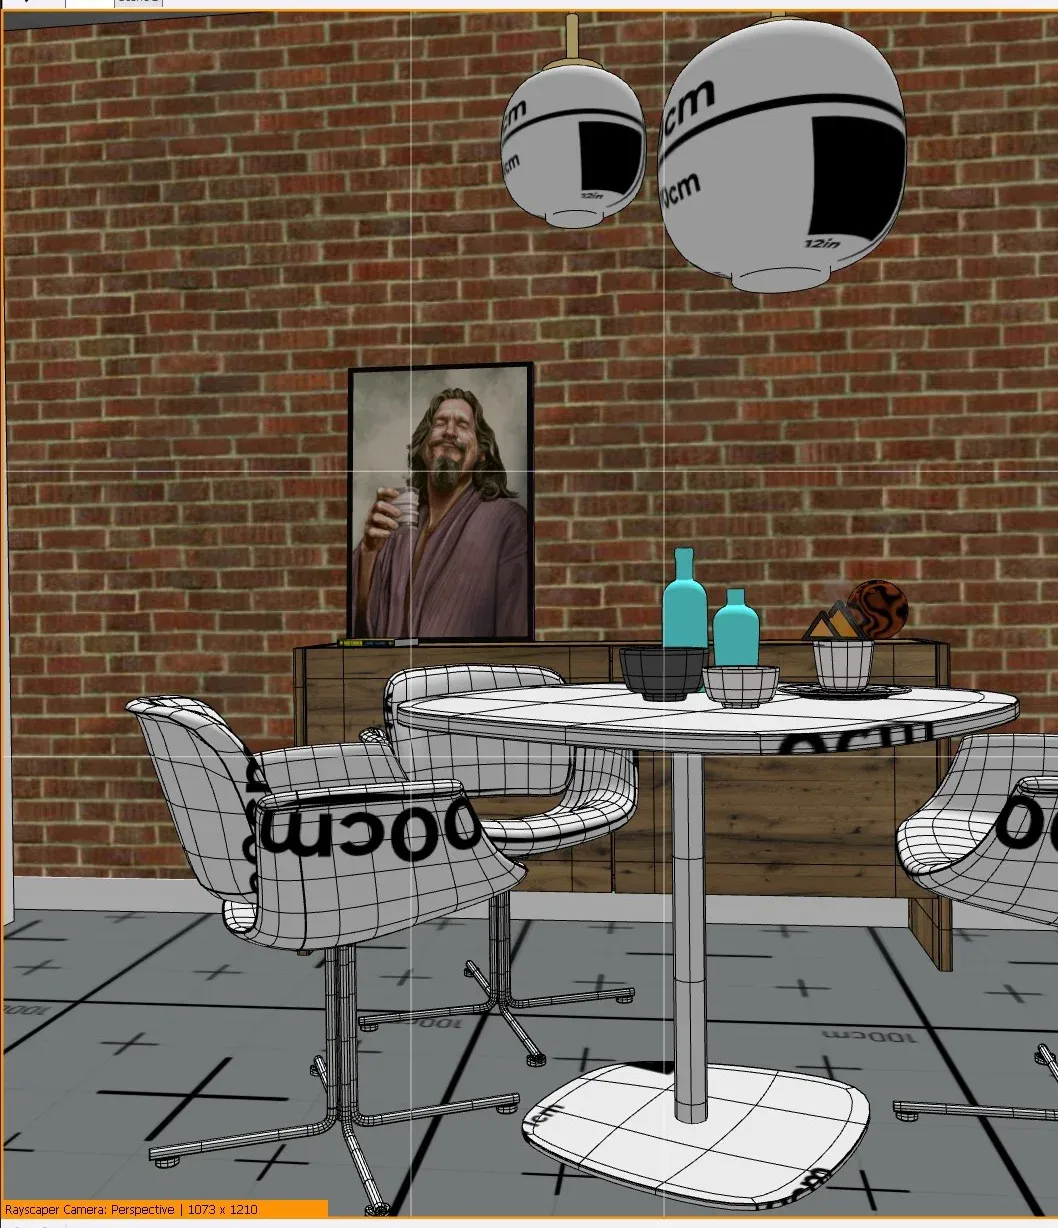
The overlay also shows the camera type, resolution, and autofocus status below the frame. If SketchUp and Rayscaper use different projection types, a warning will appear.
Render window
Section titled “Render window”The Rayscaper render window is where you view your render and adjust settings.
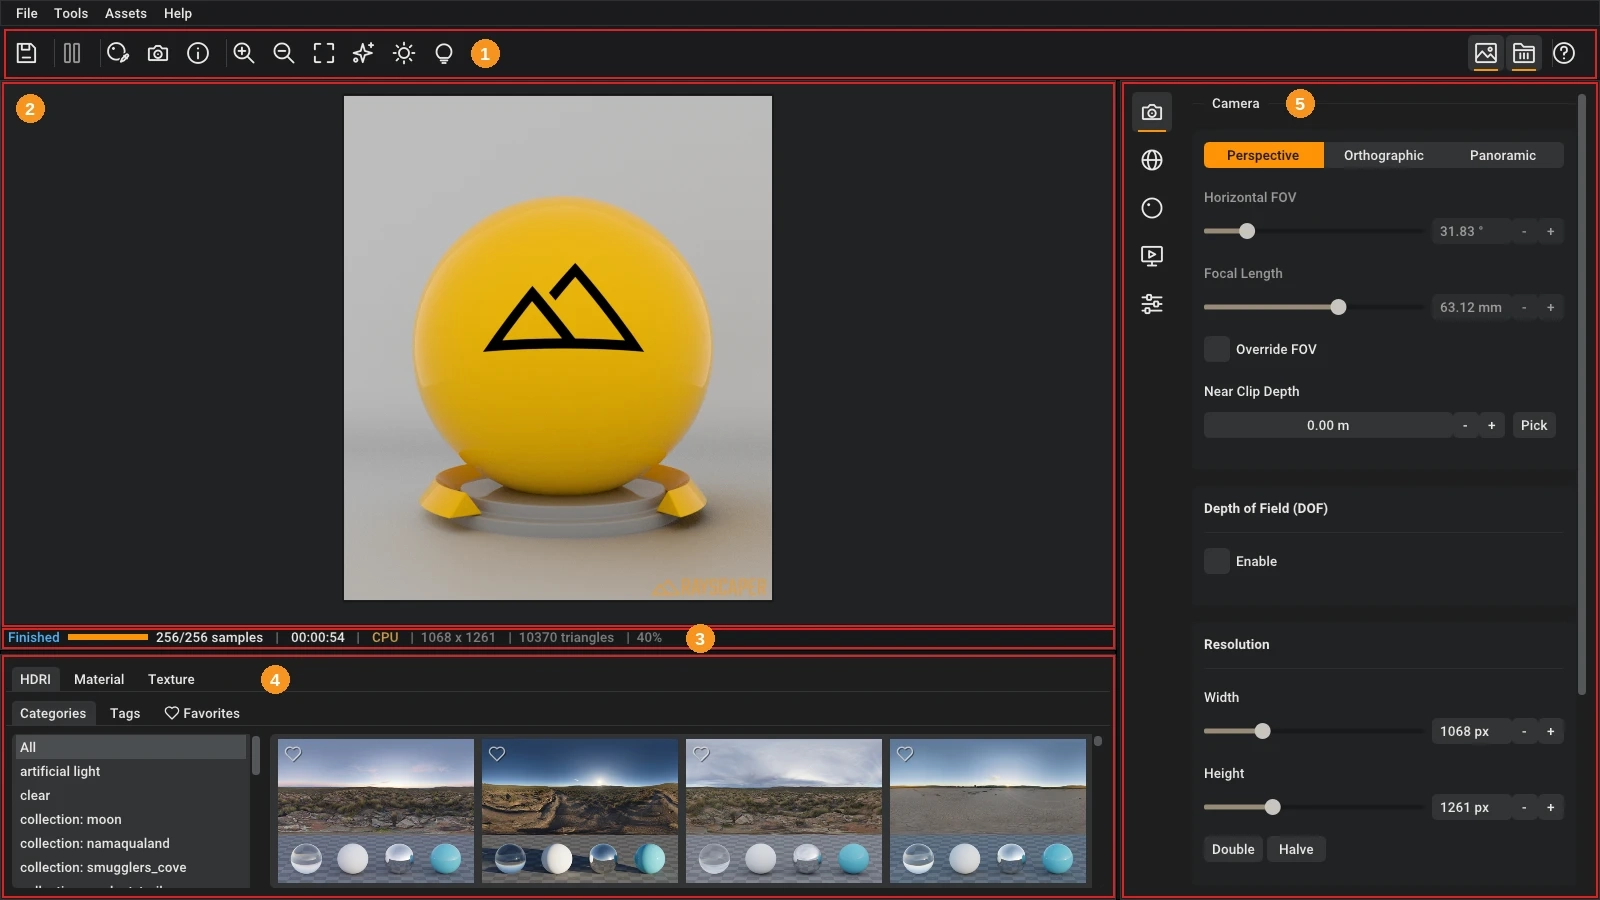
| # | Area | Description |
|---|---|---|
| 1 | Toolbar | Save the render, pause rendering, pick modes, zoom, and toggle denoising, auto exposure, light overlays and panels. See Toolbar. |
| 2 | Viewport | Shows your render in real-time as you make changes. |
| 3 | Status Bar | Displays render progress, sample count, render time, resolution, and scene statistics. |
| 4 | Asset Manager | Browse HDRIs and materials. Drag assets directly into the viewport or material editor. Filter by category or tag. |
| 5 | Scene Editor | Adjust scene and render settings. Click an icon in the rail on its left to open a section: Camera, Environment, Lights, Materials, Scatter, Render or Post Processing. The Lights section only appears once the scene has lights. |
Toolbar
Section titled “Toolbar”The toolbar at the top of the render window, from left to right:
| Button | Description |
|---|---|
| Save | Saves the render to disk. See Saving a render. Available once there’s a render result. |
| Pause / Resume | Pauses or resumes the current render. |
| Material pick | Click on the render to select and edit the material at that point. See Pick modes. |
| Focus pick | Click on the render to set the depth of field focus distance to that point. |
| Info pick | Click on the render to see information about that pixel (color, depth, material, …). |
| Zoom in / out | Zooms the render viewport in or out. |
| Zoom fit | Zooms to fit the whole render in the viewport. |
| Denoise | Toggles AI denoising. |
| Auto exposure | Toggles automatic exposure based on scene brightness. |
| Light overlay | Shows or hides clickable light icons in the viewport. |
| Scene | Shows or hides the Scene Editor. |
| Assets | Shows or hides the Asset Manager. |
| Help | Shows the keyboard shortcuts and a link to this documentation. |
Menu bar
Section titled “Menu bar”| Menu | Items |
|---|---|
| File | Save… (saving a render), Render Animation… (animation guide), Settings… (settings), Reset Window Layout (shows both panels again and resets their sizes). |
| Tools | Zoom (In, Out, to Fit), Show Light Overlays, the pick modes, and Reload All Materials from SketchUp. |
| Assets | Reload Assets, Import Materials…, Export Selected Materials…, Favorite Selected Materials and Delete Selected Materials. See Assets. |
| Help | Open Documentation…, Get Help… and About Rayscaper… (shows the version). |
Pick modes
Section titled “Pick modes”Pick modes let you click on the render to act on what’s under the cursor. Turn one on from the toolbar or the Tools menu; it stays on until you turn it off again.
- Material Pick (Ctrl+M): selects the material under the cursor and opens it in the Materials section of the Scene Editor.
- Camera Focus Pick (Ctrl+F): sets the depth-of-field focus distance to the point under the cursor.
- Info Pick (Ctrl+I): shows details about the pixel under the cursor.
- Near Clip Depth Pick (Ctrl+J): sets the camera’s near clip distance to the point under the cursor.
Reload All Materials from SketchUp
Section titled “Reload All Materials from SketchUp”Tools > Reload All Materials from SketchUp rebuilds every Rayscaper material from its SketchUp material: color, opacity and, for SketchUp PBR materials, metallic, roughness and normal map.
Keyboard shortcuts
Section titled “Keyboard shortcuts”| Shortcut | Action |
|---|---|
| Ctrl + S | Save the render. |
| Ctrl + , | Open the settings dialog. |
| Ctrl + = | Zoom in. |
| Ctrl + - | Zoom out. |
| Ctrl + 0 | Zoom to fit the render. |
| Ctrl + M | Toggle Material Pick. |
| Ctrl + F | Toggle Camera Focus Pick. |
| Ctrl + I | Toggle Info Pick. |
| Ctrl + J | Toggle Near Clip Depth Pick. |
| Ctrl + drag | Pan the viewport. |
| Ctrl + scroll | Zoom the viewport. |
| Ctrl + click | Type an exact value into a slider. |
Settings
Section titled “Settings”Open the settings via File > Settings… (Ctrl+,). Click Save changes to apply them.
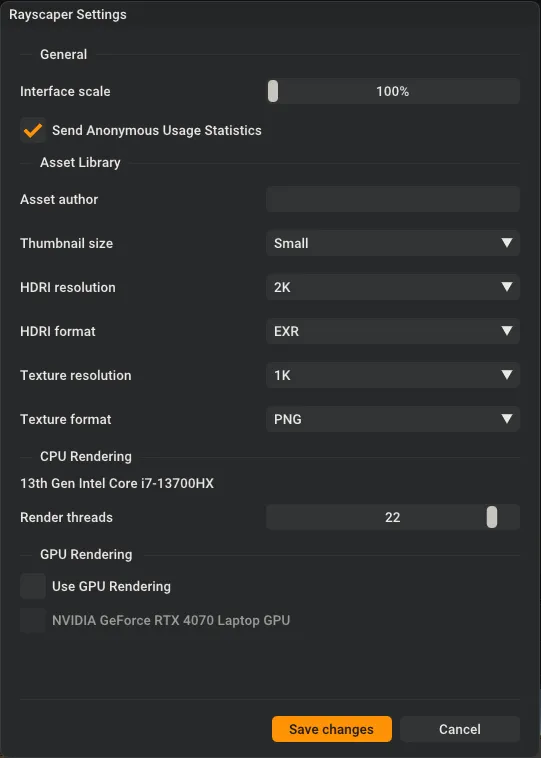
| Group | Setting | Description |
|---|---|---|
| General | Interface scale | Size of the interface, 100–250%. |
| General | Send Anonymous Usage Statistics | Helps us improve Rayscaper. On by default. Crash reports are always sent, whatever this setting is. |
| Asset Library | Asset author | Filled in as the author when you save a material. |
| Asset Library | Thumbnail size | Size of the thumbnails in the Asset Manager: Small, Medium or Large. |
| Asset Library | HDRI resolution / HDRI format | Resolution (1K–16K, default 2K) and file format (EXR or HDR) of downloaded HDRIs. |
| Asset Library | Texture resolution / Texture format | Resolution (1K–8K, default 1K) and file format (EXR, JPEG or PNG) of downloaded textures. |
| CPU Rendering | Render threads | Number of CPU threads used for rendering. The default leaves two cores free for SketchUp. |
| GPU Rendering | Use GPU Rendering | Renders on your NVIDIA GPU; off by default. Tick the GPUs to use below it. See GPU requirements. |
Saving a render
Section titled “Saving a render”Save the current render with File > Save…, the Save toolbar button or Ctrl+S, and choose a file name:
- PNG (
.png): the image exactly as you see it in the viewport, including denoising and all post processing. Use this for most renders. - EXR (
.exr): a high dynamic range image for further editing in other software. It contains the (denoised) render before post processing, so without tone mapping, exposure, bloom or glare.
Extensions Menu
Section titled “Extensions Menu”Beyond the toolbar, Rayscaper adds several utility commands to the Extensions > Rayscaper menu.
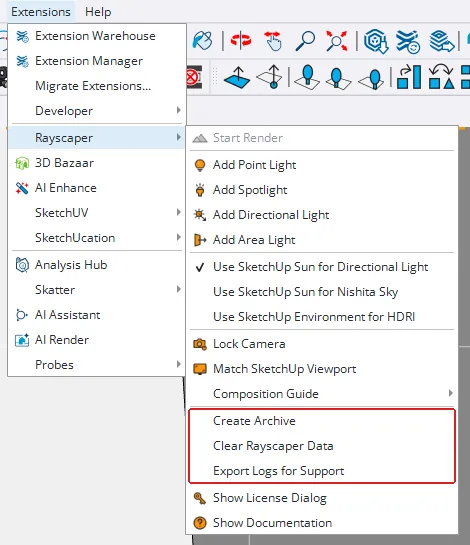
The full Rayscaper menu under Extensions, showing render, light, sync, and utility commands.
Three commands sync Rayscaper with SketchUp’s own sun and environment. Each is a toggle: a check mark shows that it’s on.
| Command | What it does |
|---|---|
| Use SketchUp Sun for Directional Light | Creates a Rayscaper directional light and keeps it in sync with the SketchUp sun. See SketchUp Sun. |
| Use SketchUp Sun for Nishita Sky | Lets the SketchUp sun set the direction and height of the sun in a Nishita sky. See Syncing with SketchUp Sun. |
| Use SketchUp Environment for HDRI | Uses the HDRI and rotation of the SketchUp environment in Rayscaper. Needs SketchUp 2025 or newer. See SketchUp Environment for HDRI. |
The other commands that aren’t on the toolbar are described below.
Create Archive
Section titled “Create Archive”Packages your SketchUp model and all Rayscaper assets (HDRIs, textures) into a single .zip file. This makes it easy to share a project with someone else or move it to another computer without losing any referenced images.
-
Go to Extensions > Rayscaper > Create Archive.
-
Choose a location and filename in the Save Rayscaper Archive dialog. The default name is based on your model file (e.g.
studio-scene_rayscaper.zip). -
Click Save. Rayscaper collects all referenced images, converts absolute paths to relative ones, and packages everything into a zip file.
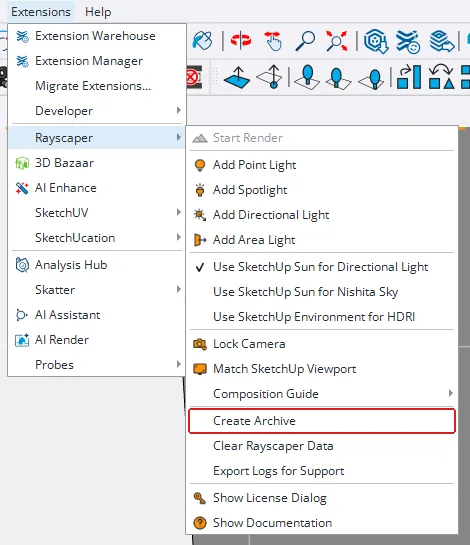
Create Archive in the Extensions > Rayscaper menu.
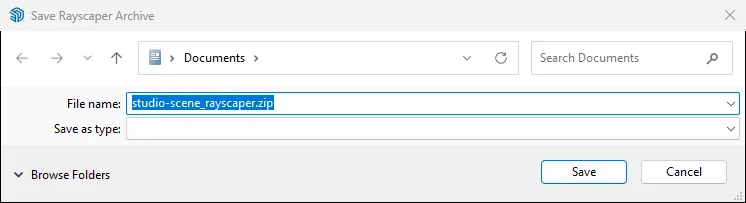
The save dialog with a default filename based on the model name.
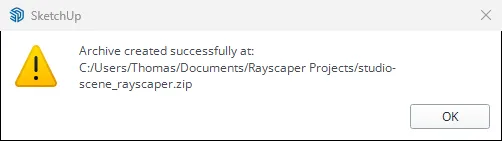
When the archive is complete, a confirmation dialog shows the file path.
The resulting .zip contains:
- A copy of the
.skpmodel with relative image paths - An
images/folder with all referenced textures and HDRIs
Clear Rayscaper Data
Section titled “Clear Rayscaper Data”Removes all Rayscaper settings stored in the current model. This deletes the Rayscaper_Data attribute dictionary from the .skp file, effectively resetting the model to a clean state as if Rayscaper had never been used.
To use it, go to Extensions > Rayscaper > Clear Rayscaper Data.
Export Logs for Support
Section titled “Export Logs for Support”Collects Rayscaper log files and diagnostic information into a .zip file that you can send to support when troubleshooting issues.
To use it, go to Extensions > Rayscaper > Export Logs for Support. Choose a save location, and Rayscaper will package:
- The main Rayscaper log (
SUEX_Rayscaper.log) and rotated backups - The Ruby extension log (
SUEX_Ruby.log) - The library loader log (
SUEX_Rayscaper_LoadLibs.log) - A diagnostic manifest with your Rayscaper version, OS, and SketchUp version
After saving, Rayscaper asks whether to open the containing folder, so you can quickly attach the file to an email or support ticket.
If the Rayscaper menu is missing, for example because the extension failed to load, collect the logs by hand: open
%APPDATA%\Rayscaper in Windows Explorer (paste the path in the address bar), select the files that start with
SUEX_, and compress them into a zip file.